Easy Rooster Edition Basket Crochet Pattern Step-by-Step
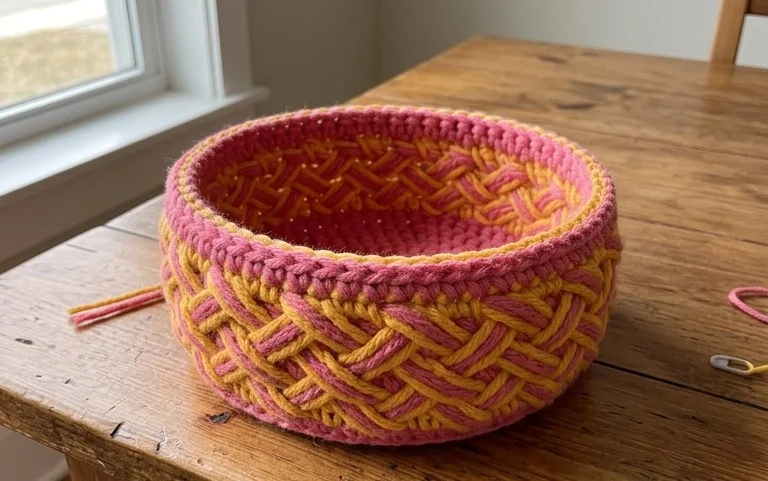
This sturdy basket sits firmly on a wooden desk and keeps pens or loose notions within reach. I find that using worsted weight cotton yarn creates a dense wall that holds its shape even when empty, which is a common problem with lighter fibers. This project suits anyone starting their crochet journey or those who need a quick gift that feels handmade and practical. You will rely on the continuous spiral technique to build height without the nuisance of visible seams. It provides a quiet, repetitive rhythm that clears the mind during a long evening on the sofa.
Why Crocheters Love It
This beginner-friendly project works up quickly, making it a staple for last-minute gifts or stash-busting sessions. The repetitive nature of the single crochet stitches creates a dense, sturdy fabric ideal for a functional basket that holds its shape. Because it uses a simple spiral construction, you do not need to worry about visible seam lines or complex turning chains. Its versatility allows it to serve as a home for yarn scraps, desk supplies, or small potted plants.
I finished this basket in one evening while watching a movie. The pattern is incredibly easy to follow and the base came out perfectly flat without any curling.
— Sarah, home crafter
Pattern Overview & Skill Level
- Skill Level: Beginner
- Approximate Time: 1 to 2 hours
- Construction: Worked in a continuous spiral using single crochet stitches, starting from a flat circular base and building up the sides.
- Finished Dimensions & Sizing: Approximately 6 inches in diameter and 4 inches in height.
Materials & Supplies Needed
- Yarn: Worsted weight (#4), 100% cotton yarn, approximately 150 yards. Cotton provides the necessary stiffness for a basket to stand upright.
- Hook Size: 4.5 mm (US size 7) to create a tight, firm gauge that prevents holes.
- Notions needed: Tapestry needle for weaving in ends, a locking stitch marker to track the start of rounds, and scissors.
- Safe yarn substitutions: Acrylic yarn can be used, but note that it is softer and may result in a floppier basket. Wool is an alternative, though it is harder to wash if the basket gets dirty.
Stitch Guide & Abbreviations (US Terms)
- ch: chain
- sc: single crochet
- inc: increase (work 2 sc in the same stitch)
- sl st: slip stitch
- st/sts: stitch/stitches
- MR: magic ring (a method of starting a project by crocheting over a loop of yarn)
- BLO: back loop only (inserting the hook under only the rear strand of the stitch)
Special Stitch Instructions
Magic Ring: Hold the yarn tail in your hand, wrap the working yarn around your index and middle finger twice to form a loop. Insert your hook under both strands, pull up a loop, and secure with a chain stitch before beginning your first round of single crochet stitches.
Step-by-Step Pattern Instructions
Basket Base
Work in continuous rounds. Place a stitch marker at the beginning of each round to keep track of your progress.
- Rnd 1: Start 6 sc in a MR (6 sts).
- Rnd 2: Work 2 sc in each st around (12 sts).
- Rnd 3: 1 sc, inc 6 times (18 sts).
- Rnd 4: 2 sc, inc 6 times (24 sts).
- Rnd 5: 3 sc, inc 6 times (30 sts).
- Rnd 6: 4 sc, inc 6 times (36 sts).
- Rnd 7: 5 sc, inc 6 times (42 sts).
- Rnd 8: 6 sc, inc 6 times (48 sts).
Basket Sides
The transition to the sides creates a sharp edge for the base.
- Rnd 9: Working in BLO, sc in each st around (48 sts).
- Rnd 10-18: Sc in both loops of every st around (48 sts).
- Rnd 19: Sl st in each st around to create a clean finish.
Finishing
Cut the yarn, leaving a 6-inch tail. Pull the tail through the final loop. Use your tapestry needle to weave the tail end into the interior stitches of the basket, pulling tightly enough to hide the thread but not so tight that it puckers the fabric.
Care & Washing Instructions
- Hand wash in cool water with a gentle detergent to maintain the shape of the cotton fibers.
- Lay the basket flat on a clean towel to air dry, ensuring it is reshaped into a perfect circle while damp.
- Avoid using a tumble dryer, as high heat can shrink cotton yarn and cause the basket to lose its rigidity.
Pro Tips & Common Mistakes to Avoid
- Tight Tension: If your stitches are loose, the basket will sag. Try going down a hook size if you notice visible gaps between your stitches.
- Stitch Markers: Never skip the stitch marker. Since this pattern uses continuous rounds, it is nearly impossible to find your starting point once you have finished a round without one.
- Weaving Ends: Weave your ends back and forth in three different directions within the fabric to ensure they do not pop out after the basket is filled with items.
- Size Adjustments: To make the basket larger, add more increase rounds to the base, such as 7 sc, inc for the next round. Increasing the size will consume significantly more yarn, so ensure you have enough yardage before starting.
Frequently Asked Questions
Can I use a different yarn weight for this pattern?
Yes, you can use bulkier yarn for a larger, quicker project or thinner yarn for a smaller decorative basket. Note that changing yarn weight will change the finished dimensions and you may need to adjust your stitch counts.
Is this pattern suitable for complete beginners?
It is perfect for beginners because it relies entirely on the single crochet stitch and simple circular increases. It introduces essential techniques like the magic ring and working in back loops only.
How do I keep my circular base from curling?
Curling often happens if the tension is too tight or the increase math is incorrect. Ensure you are following the increase rhythm exactly and verify that you have the correct stitch count at the end of every round.
Am I allowed to sell baskets made from this pattern?
You are welcome to sell finished items made from this pattern as long as you credit the original design. Please refrain from mass-producing or claiming the pattern as your own work.
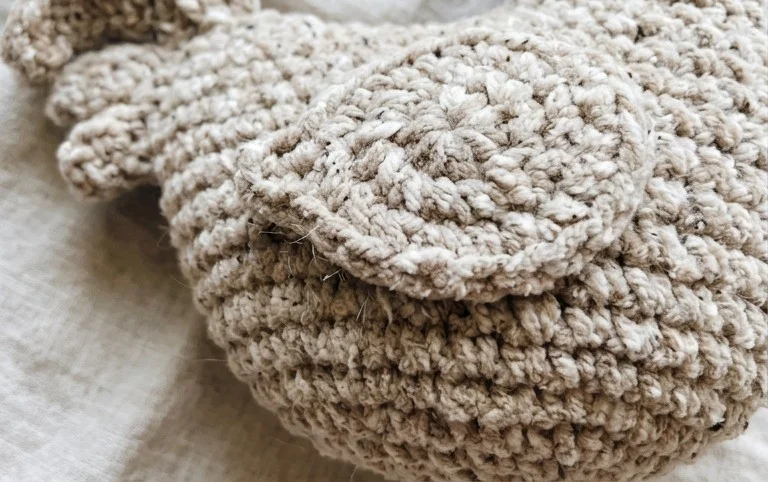
Your new handmade basket stands ready to organize your supplies or hold a small indoor plant. You can adjust the scale by adding more rows to the base or using two strands of yarn held together for a much thicker, heavier texture. Once you finish your project, consider snapping a photo to share your results with other crafters online. If you enjoyed this build, check out the archives for more free patterns to fill your afternoon hours with relaxing, productive work.