Classic Granny Square: Free Crochet Pattern for Beginners
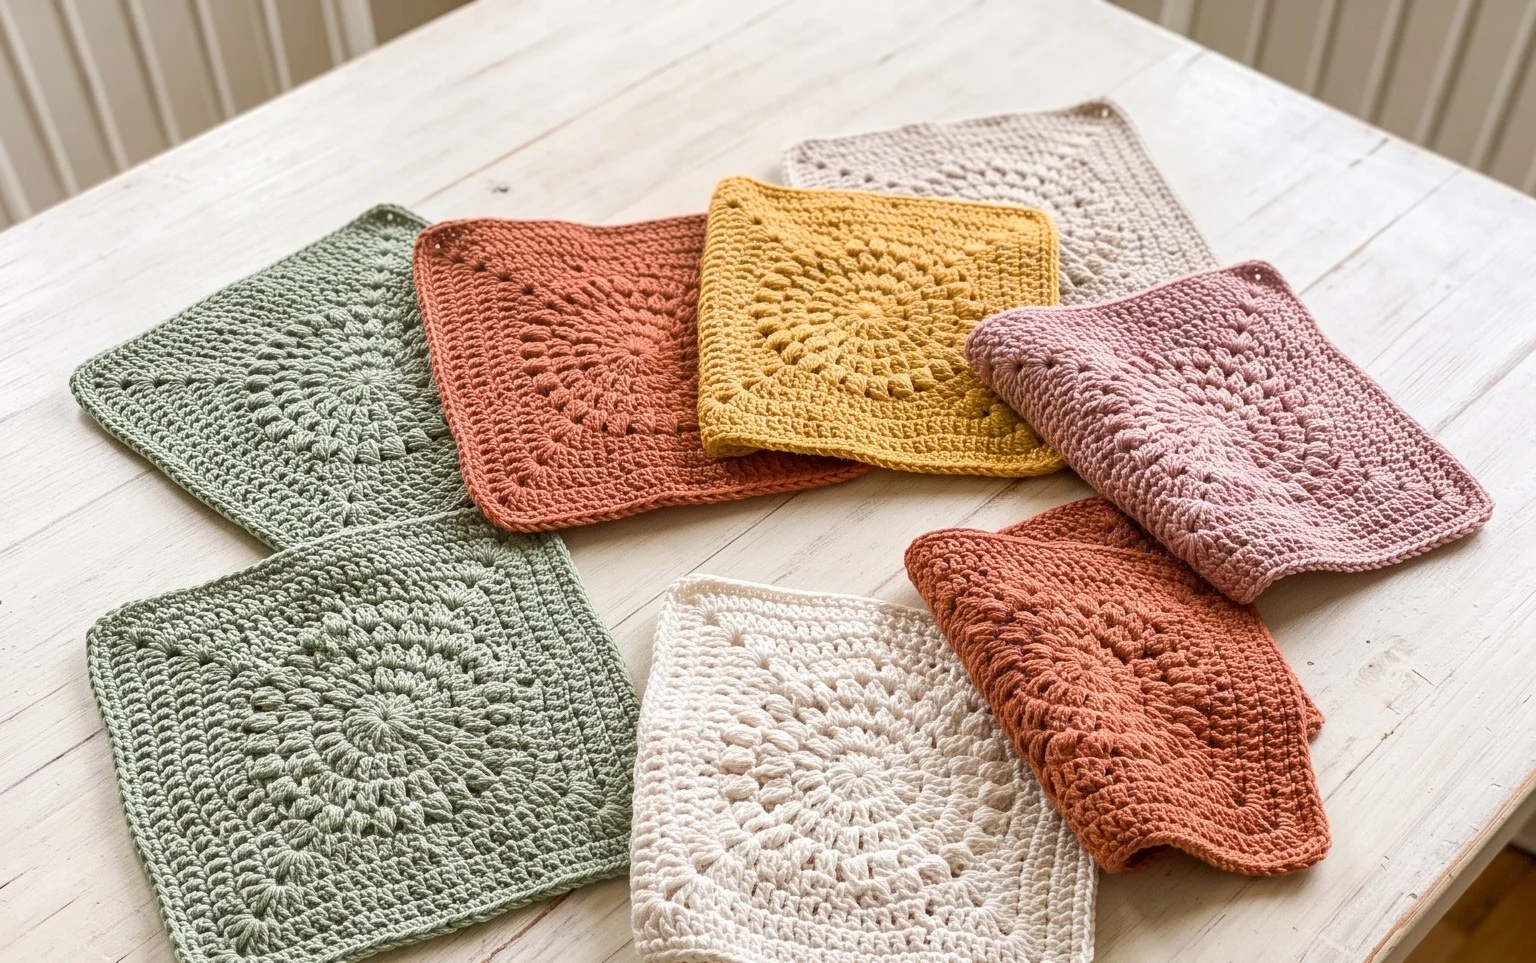
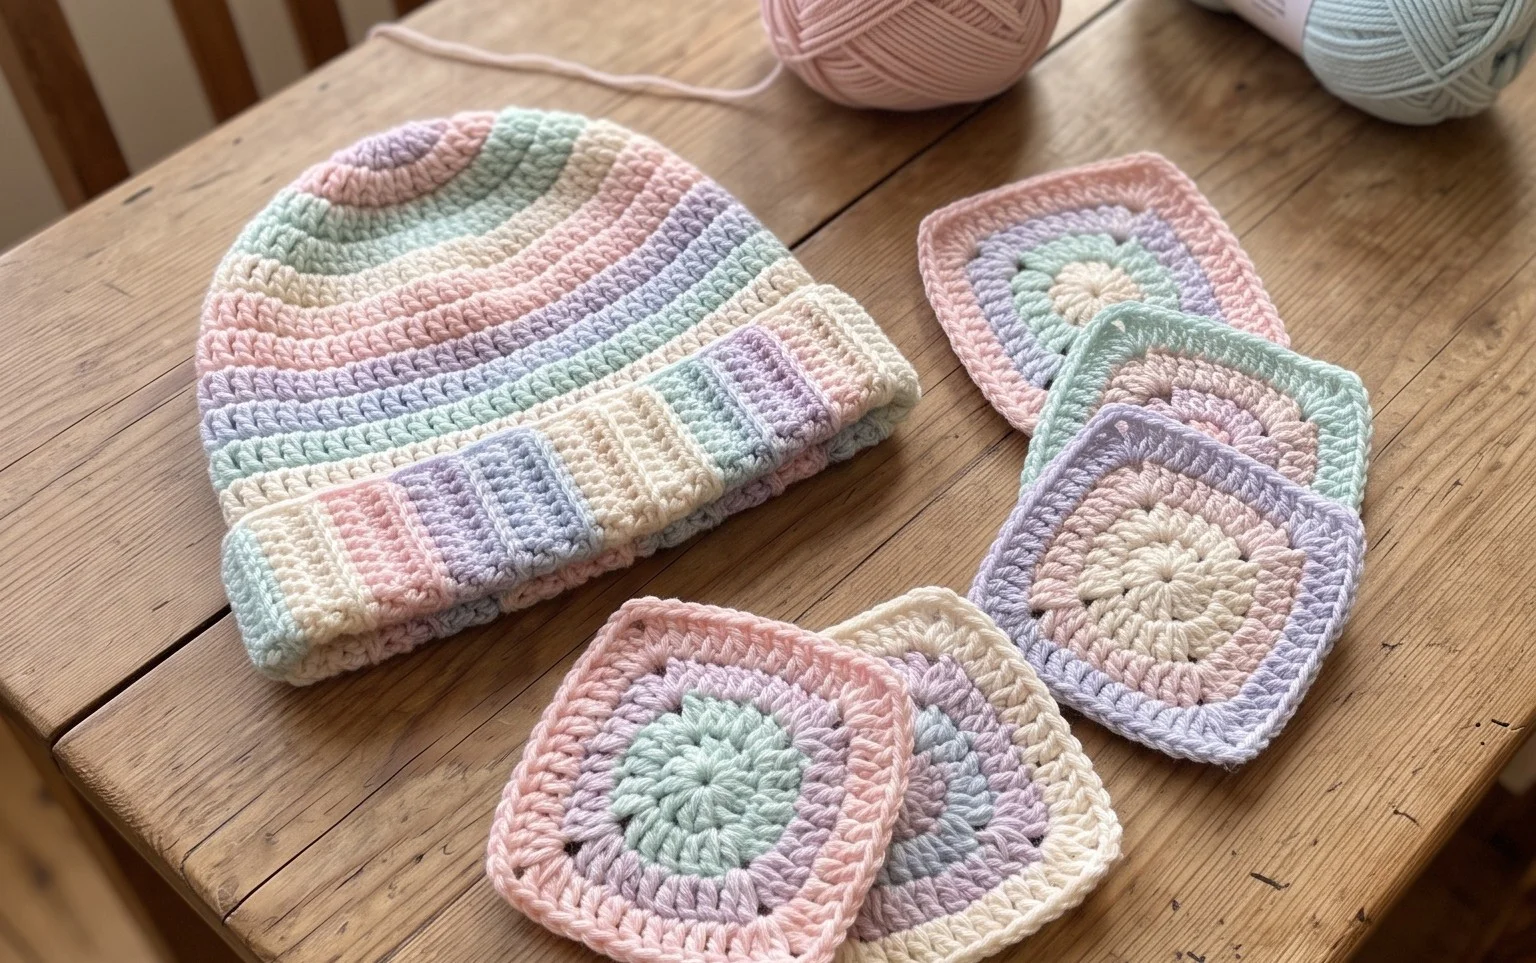
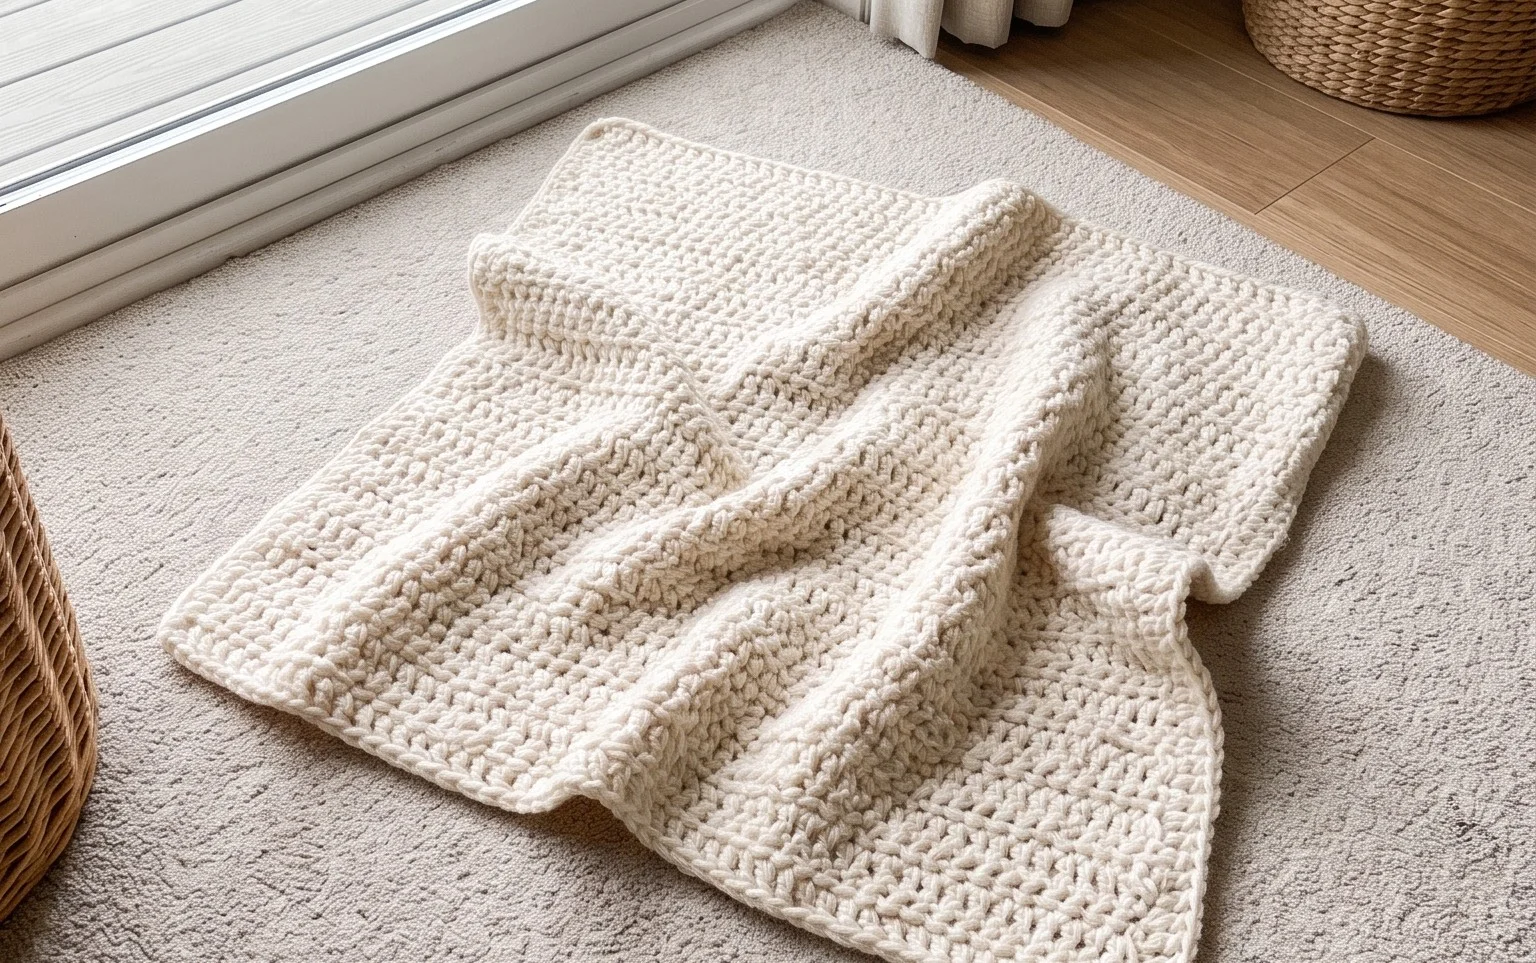
A stack of finished granny squares feels soft, dense, and slightly squishy between your fingers, offering a satisfying weight that promises warmth once stitched together. These simple motifs suit beginners who want to practice tension, home decor lovers building an afghan, or anyone needing a portable project for bus rides or quiet evenings. You will learn the classic double crochet cluster technique, which creates the recognizable open-center look that defines traditional crochet work. Building these squares from the center outward gives you complete control over the finished size, turning a small pile of yarn ends into a functional, heirloom piece that actually lasts for years.
Why You’ll Love This Pattern
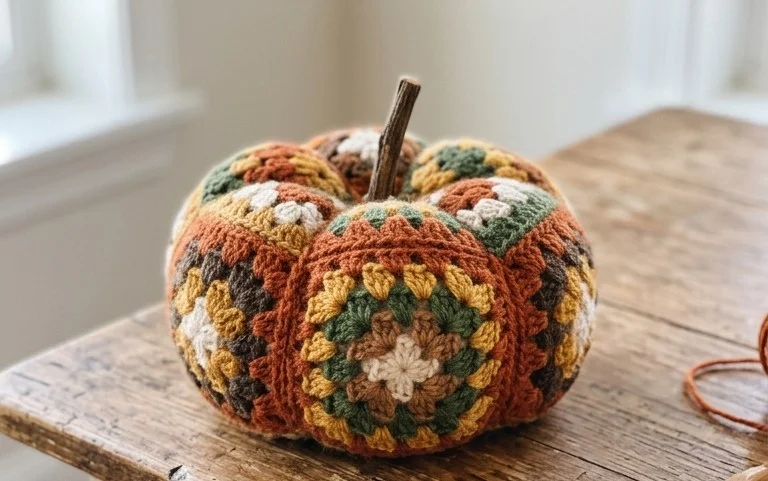
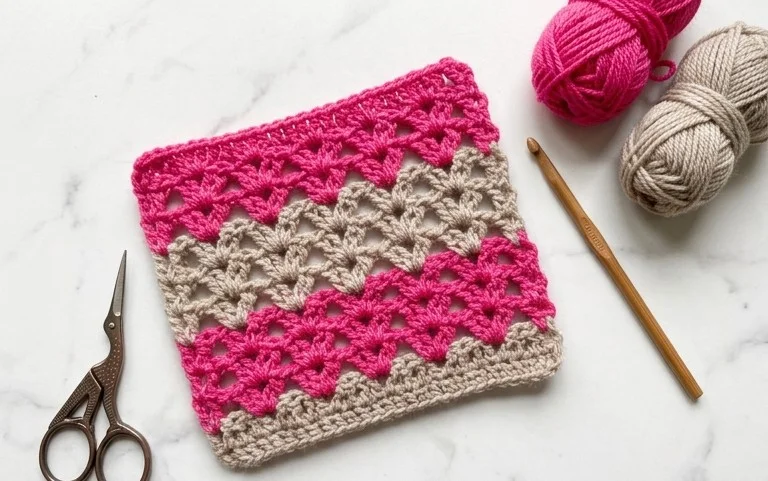
The Classic Crochet Granny Square is the fundamental building block for countless heritage-style blankets, tote bags, and cardigans. This pattern relies on a simple, repeating sequence of double crochet clusters and chain spaces, making it a meditative project that requires minimal counting once you complete the first two rounds. Because it works from the center outward, you can easily stop at any size to create coasters, pot holders, or a full-sized afghan. It is an ideal way to use up leftover yarn scraps from previous projects, as each round can be worked in a different color to create a bold, modern look.
I finally mastered the granny square with this guide. The instructions for the corner chains helped me keep the square flat without any ruffled edges.
— Sarah, hobbyist maker
Pattern Overview & Skill Level
- Skill Level: Beginner
- Approximate Time: 30 minutes per square
- Construction: Worked in joined rounds, starting from a center ring and expanding outward.
- Finished Dimensions: Approximately 6 inches by 6 inches using standard worsted weight yarn and a 5.0 mm hook.
Materials & Supplies Needed
- Yarn: Worsted weight (#4) acrylic or wool blend. You will need approximately 20 yards for a 6-inch square.
- Hook Size: 5.0 mm (US H-8).
- Notions: Yarn needle for weaving in ends, scissors, and optional stitch markers to mark the corner spaces.
- Safe yarn substitutions: Cotton yarn will produce a stiffer, more defined square but may require a smaller hook size to prevent gaps; bulky weight yarn will result in a larger square but will require more yardage.
Stitch Guide & Abbreviations (US Terms)
- ch: Chain
- st: Stitch
- sl st: Slip stitch
- dc: Double crochet
- dc cluster: A set of 3 double crochets worked into the same space.
- sp: Space created by a chain.
- MR: Magic ring (or alternative ch-4 and join with a sl st to form a ring).
Step-by-Step Pattern Instructions
Granny Square Body
- Rnd 1: Start with a MR. Ch 3 (counts as first dc), work 2 dc into the ring. Ch 2, [3 dc into ring, ch 2] 3 times. Join with a sl st to the top of the initial ch-3. (12 dc, 4 ch-2 spaces)
- Rnd 2: Sl st into the next dc and into the first ch-2 corner space. Ch 3, 2 dc, ch 2, 3 dc all in same corner sp. Ch 1, *[3 dc, ch 2, 3 dc] in next ch-2 corner sp, ch 1. Repeat from * 2 more times. Join with a sl st to the top of the starting ch-3. (24 dc, 4 ch-2 spaces, 4 ch-1 spaces)
- Rnd 3: Sl st to the first ch-2 corner space. Ch 3, 2 dc, ch 2, 3 dc in corner sp. Ch 1, 3 dc in next ch-1 side sp, ch 1. *[3 dc, ch 2, 3 dc] in next corner sp, ch 1, 3 dc in next side sp, ch 1. Repeat from * 2 more times. Join with a sl st to the top of the starting ch-3. (36 dc, 4 ch-2 spaces, 8 ch-1 spaces)
- Rnd 4: Continue the pattern by working [3 dc, ch 2, 3 dc] in each corner and 3 dc in each side ch-1 space. Each side will increase by one cluster per round. Join each round with a sl st.
Finishing
Fasten off your yarn, leaving a 6-inch tail. Use your tapestry needle to weave the yarn tail through the back loops of the stitches on the reverse side of the square to secure it. Repeat for all color changes.
Care & Washing Instructions
- Hand wash your finished item in cool water with a mild wool-safe detergent.
- Gently squeeze out excess water, do not wring or twist the fabric.
- Lay the square flat on a clean towel to air dry, reshaping it into a perfect square while damp.
Pro Tips & Common Mistakes to Avoid
Pay close attention to your tension when working the chain-1 spaces between clusters; if your chains are too tight, the square will curl or cup. Place a stitch marker in the corner ch-2 space during your first few attempts to help identify where to work the next cluster. Weave your ends in as you go to avoid a massive finishing session once the project is complete. Adjusting the size of your square is simple: just stop adding rounds when you reach your desired measurement, but remember that larger squares require significantly more yarn per round.
Frequently Asked Questions
Can I use a different yarn weight for this pattern?
Yes, you can use any yarn weight. Keep in mind that thinner yarn will produce a smaller square and thicker yarn will produce a larger one, so you should adjust your hook size to match the yarn manufacturer’s recommendation on the label.
How do I join these squares together?
You can join squares using a mattress stitch for an invisible seam or a single crochet join if you prefer a decorative, raised ridge between your squares.
Is this pattern suitable for complete beginners?
This is a foundational pattern that introduces basic stitches and working in rounds, making it an excellent starting point for new crocheters.
Am I allowed to sell items made from this pattern?
You are welcome to sell finished items created from this pattern, provided you credit the original design and use your own photographs for your listings.
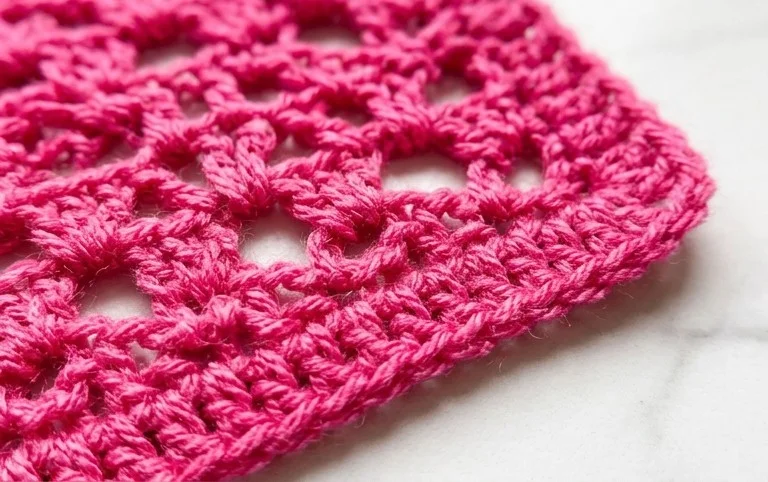
Your new granny square serves as a versatile foundation for everything from a cozy lap blanket to a colorful decorative pillowcase. Try using a variegated wool yarn for your next square to see how the shifting colors change the look of the stitches without needing to fasten off and weave in new ends every round. When your project is finished, post a photo of your layout to your favorite social media feed. Check the rest of our blog for more free patterns that build on these basic skills.