Easy Granny Square Pumpkins: Free Fall Crochet Pattern
These soft, squishy pumpkins transform simple yarn scraps into cozy decor that sits perfectly on a mantel or a bookshelf during autumn. The project relies on the classic granny square foundation, making it approachable for someone just starting their crochet journey while still providing a relaxing experience for experienced makers. You will master the double crochet stitch as you work in joined rounds, creating a shape that holds its own weight when stuffed with poly-fill. These small seasonal decorations bring a warm, handmade touch to any room. You will learn to construct each panel efficiently, ensuring every piece fits together for a consistent finished result.
Why You’ll Love This Pattern
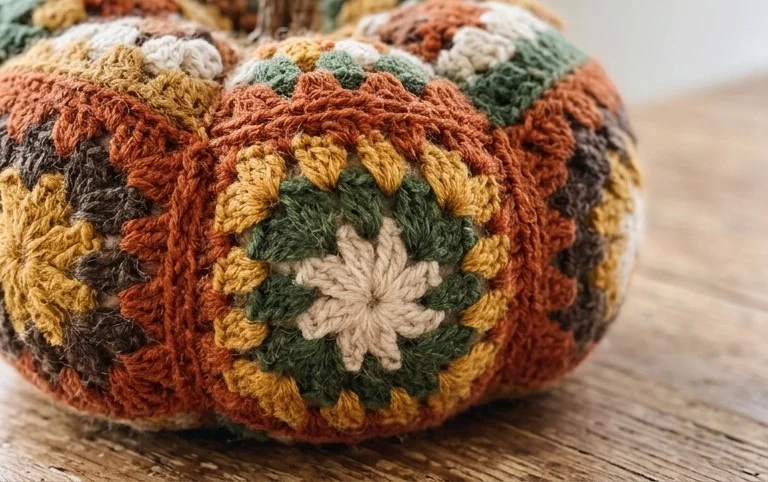
The Classic Crochet Granny Square is the foundation of countless heritage-style blankets, tote bags, and garments. This project is ideal for beginners because it relies on the double crochet stitch and chain spaces, creating a rhythmic, meditative motion that is easy to memorize. You can complete a single square in less than thirty minutes, making it an excellent way to use up leftover yarn scraps from previous projects. Because the pattern grows outward from the center, you can stop at any size to create everything from drink coasters to oversized bed throws.
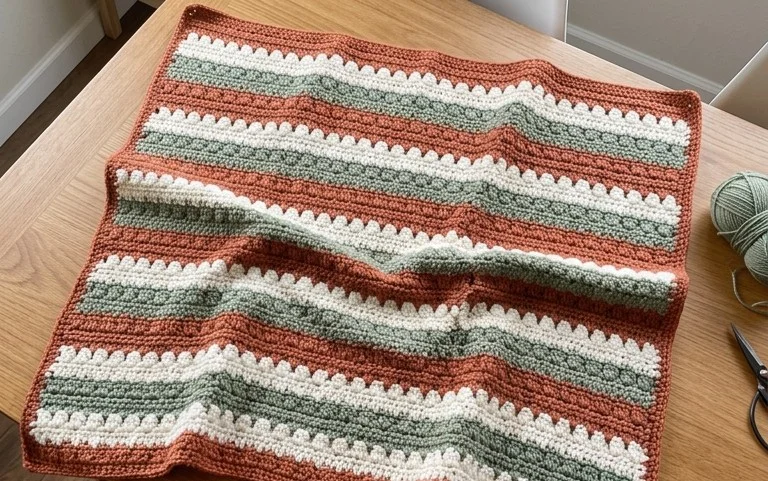
I finally learned to crochet using this exact square pattern. The instructions are so clear that I managed to make an entire blanket for my guest room in just two weekends.
— Sarah, hobbyist crafter
Pattern Overview & Skill Level
- Skill Level: Beginner
- Approximate Time: 20 to 30 minutes per square
- Construction: Worked in joined rounds, starting from a center ring and expanding outward
- Finished Dimensions: Approximately 6 inches by 6 inches using worsted weight yarn
Materials & Supplies Needed
- Yarn: Worsted weight (#4), 100% cotton or acrylic blend, approximately 20 yards per square.
- Hook Size: 5.0 mm (US H-8).
- Notions: Tapestry needle for weaving in ends, sharp scissors.
- Safe yarn substitutions: You may use DK weight (#3) yarn with a 4.0 mm hook for a smaller, tighter square, or bulky weight (#5) yarn with a 6.0 mm hook for a larger, quicker square. Note that changing the weight will significantly alter the final dimensions.
Stitch Guide & Abbreviations (US Terms)
- ch = chain
- st = stitch
- sl st = slip stitch
- dc = double crochet
- sc = single crochet
- yo = yarn over
- Cluster = a group of 3 dc stitches worked into the same space
- Shell = a group of 3 dc, ch 2, 3 dc worked into a corner space
Step-by-Step Pattern Instructions
The Center and Foundation
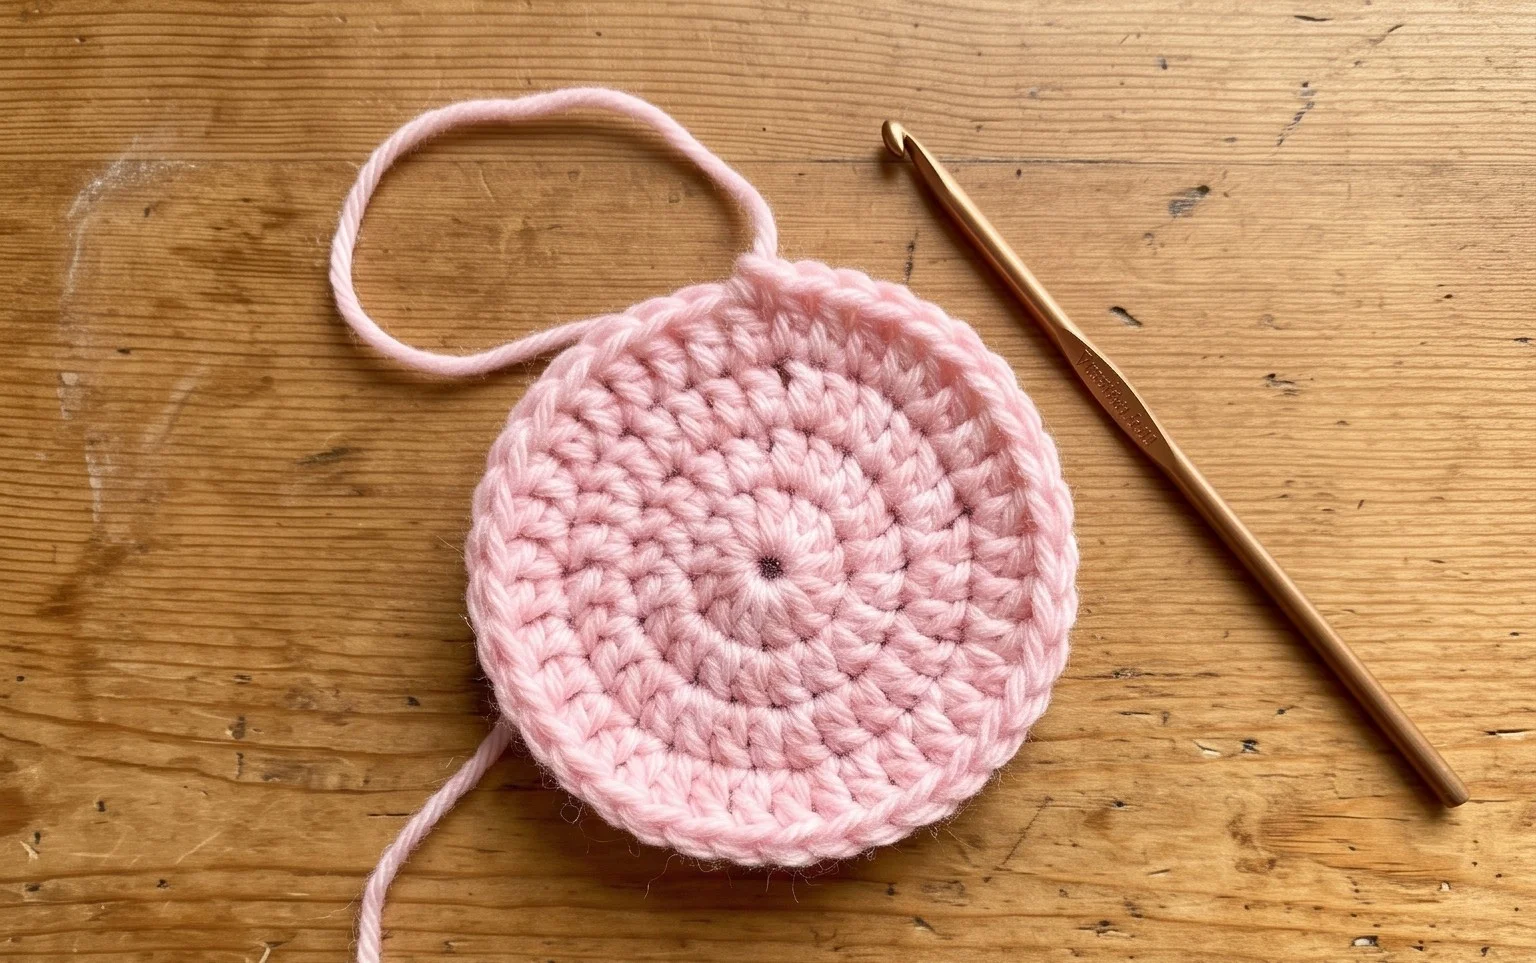
- Rnd 1: Start with a magic ring. Ch 3 (counts as first dc), work 2 dc into the ring. Ch 2, 3 dc into the ring. Ch 2, 3 dc into the ring. Ch 2, 3 dc into the ring. Ch 2. Join with a sl st to the top of the beginning ch 3. (12 dc and 4 ch-2 spaces)
- Rnd 2: Sl st into the next two sts and into the first ch-2 corner space. Ch 3, 2 dc, ch 2, 3 dc in the same corner space. Ch 1, skip 3 sts, [3 dc, ch 2, 3 dc] in next ch-2 corner space. Repeat from * to * two more times. Ch 1, skip 3 sts. Join with a sl st to the top of the beginning ch 3. (24 dc and 8 spaces)
- Rnd 3: Sl st into the next two sts and into the first ch-2 corner space. Ch 3, 2 dc, ch 2, 3 dc in the corner space. Ch 1, 3 dc in next ch-1 space. Ch 1, [3 dc, ch 2, 3 dc] in next corner space. Repeat from * to * two more times. Ch 1, 3 dc in next ch-1 space. Ch 1. Join with a sl st to top of beginning ch 3. (36 dc and 12 spaces)
Finishing the Square
After completing Round 3, fasten off your yarn, leaving a six-inch tail. Use your tapestry needle to weave the tail through the back of the stitches to secure it. If you intend to join multiple squares together, leave a slightly longer tail to assist with the seaming process.
Care & Washing Instructions
- Hand wash your finished item in cool water using a gentle, wool-safe detergent.
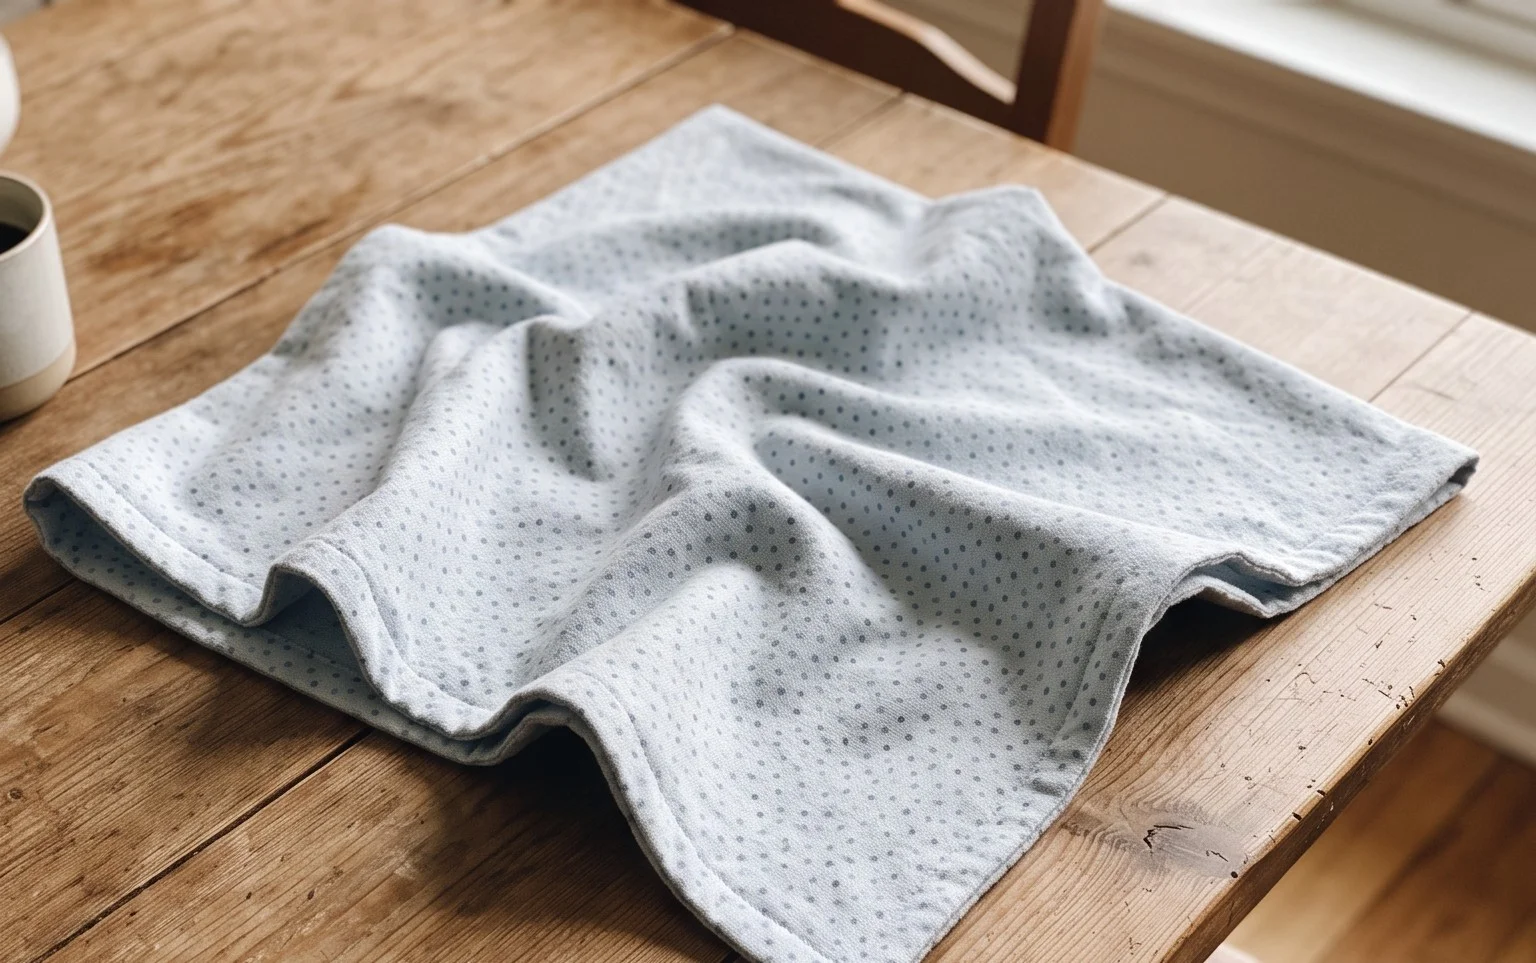
- Lay the piece flat on a clean towel to dry, avoiding direct sunlight or high heat.
- Block the square by pinning it to a foam mat while damp to ensure perfectly straight edges and consistent dimensions.
Pro Tips & Common Mistakes to Avoid
Maintain consistent tension by ensuring your yarn feed is smooth and not pulling tightly against the hook. When working in rounds, place a removable stitch marker in the first chain of your starting ch-3 so you can easily identify the joining point at the end of the round. Weave your ends in by passing the needle through the stitches in multiple directions, which prevents the yarn from working its way out over time. To adjust the size of the square, simply repeat the pattern for Rnd 3 until you reach your desired measurement, adding one additional 3-dc cluster in every side ch-1 space for each extra round.
Frequently Asked Questions
Can I use variegated yarn for this square?
Yes, variegated or self-striping yarns create a unique look as the colors pool differently with each round of the square.
How do I join these squares together?
The most common methods are the single crochet join, the slip stitch join, or the invisible mattress stitch seam.
Is this pattern suitable for complete beginners?
This pattern is highly recommended for beginners because it uses only basic stitches and helps you practice working into chain spaces rather than individual stitch loops.
May I sell items made from this pattern?
You are welcome to sell finished items created from this guide, provided you credit the original pattern design and use your own photographs.
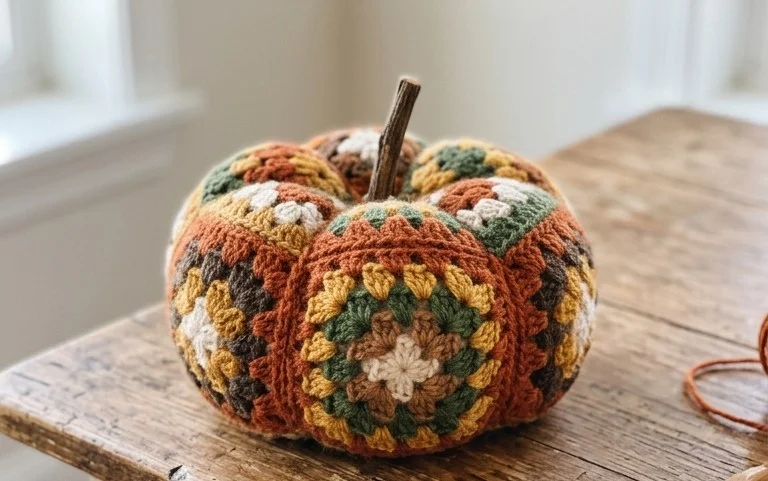
Your finished pumpkin looks charming sitting on a side table or grouped with others on a dining centerpiece. You can swap the traditional orange yarn for deep plum or sage green wool to match a more modern interior style. Once your creation is stuffed and finished, take a quick photo to show off your work on social media. I love seeing how your colors turn out, so please share your finished project online. Browse the rest of the blog for more free patterns to continue your craft throughout the upcoming holiday season.