Easy Magic Circle Crochet Basket Pattern Step-by-Step
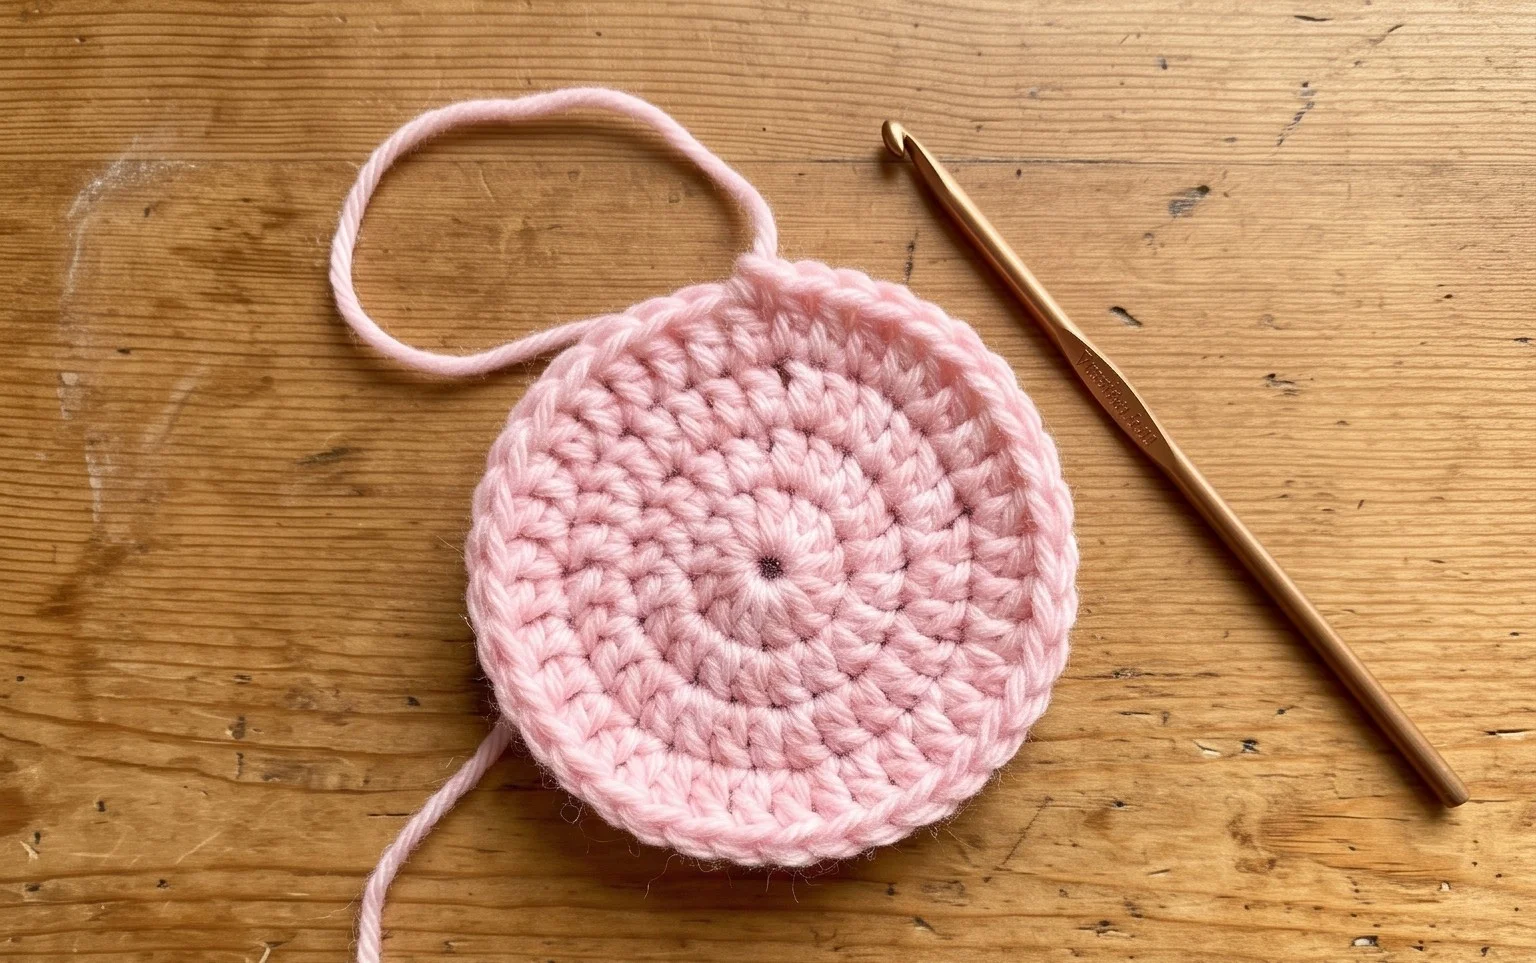
Starting a project with a solid, gap-free center is the foundation of any professional-looking circular piece. This specific magic circle technique creates a tight, secure base that prevents those annoying holes often found in traditional chain-start methods. When you use this method for a container or a coaster, you get a clean finish that holds up to daily handling. It works especially well for home organizers where structural density matters more than anything else. You will find that mastering this loop allows you to pull your yarn tight, anchoring your first round securely. It saves time during the assembly process while ensuring your work stays flat and balanced from the very first stitch.
Why You’ll Love This Pattern
This beginner-friendly project creates a structured, durable crochet basket using the classic thermal stitch. The dense fabric naturally holds its shape without the need for stiffeners or plastic inserts, making it ideal for organizing craft supplies, yarn cakes, or household knick-knacks. You can work through the entire design using only basic single crochet stitches, which makes it a relaxing, repetitive project for long evenings. Because the basket works up quickly, it serves as a thoughtful, personalized gift that looks far more professional than standard soft-sided containers.
I finished this basket over the weekend and it is incredibly sturdy. The thermal stitch creates such a thick wall that I ended up making three more to organize my desk supplies.
— Sarah, home organizer
Pattern Overview & Skill Level
- Skill Level: Beginner
- Approximate Time: 3 to 4 hours
- Construction: Worked in continuous rounds starting from a flat circular base, then transitioning to the thermal stitch for vertical sides.
- Finished Dimensions: 8 inches in diameter and 6 inches in height.
Materials & Supplies Needed
- Yarn: Worsted weight (#4), 100% cotton yarn, approximately 300 yards. Cotton is preferred for its lack of stretch and structural integrity.
- Hook Size: 4.5 mm (US 7) for a tight, dense fabric.
- Notions: Tapestry needle for weaving ends, stitch marker to track the beginning of rounds, and a measuring tape.
- Yarn Substitutions: Acrylic yarn is a soft alternative, though it will produce a slightly less rigid basket. Wool-blend yarns may felt if washed, so check labels carefully. Using a larger hook will result in a larger but floppier basket.
Stitch Guide & Abbreviations (US Terms)
- MR = magic ring
- ch = chain
- sc = single crochet
- inc = 2 sc in the same stitch
- sl st = slip stitch
- st/sts = stitch/stitches
- Thermal Sc = single crochet worked into the back loop of the current round and the exposed front loop of the round below, creating a double-thick fabric.
Step-by-Step Pattern Instructions
Basket Base
- Rnd 1: Work 6 sc into a MR. (6 sts)
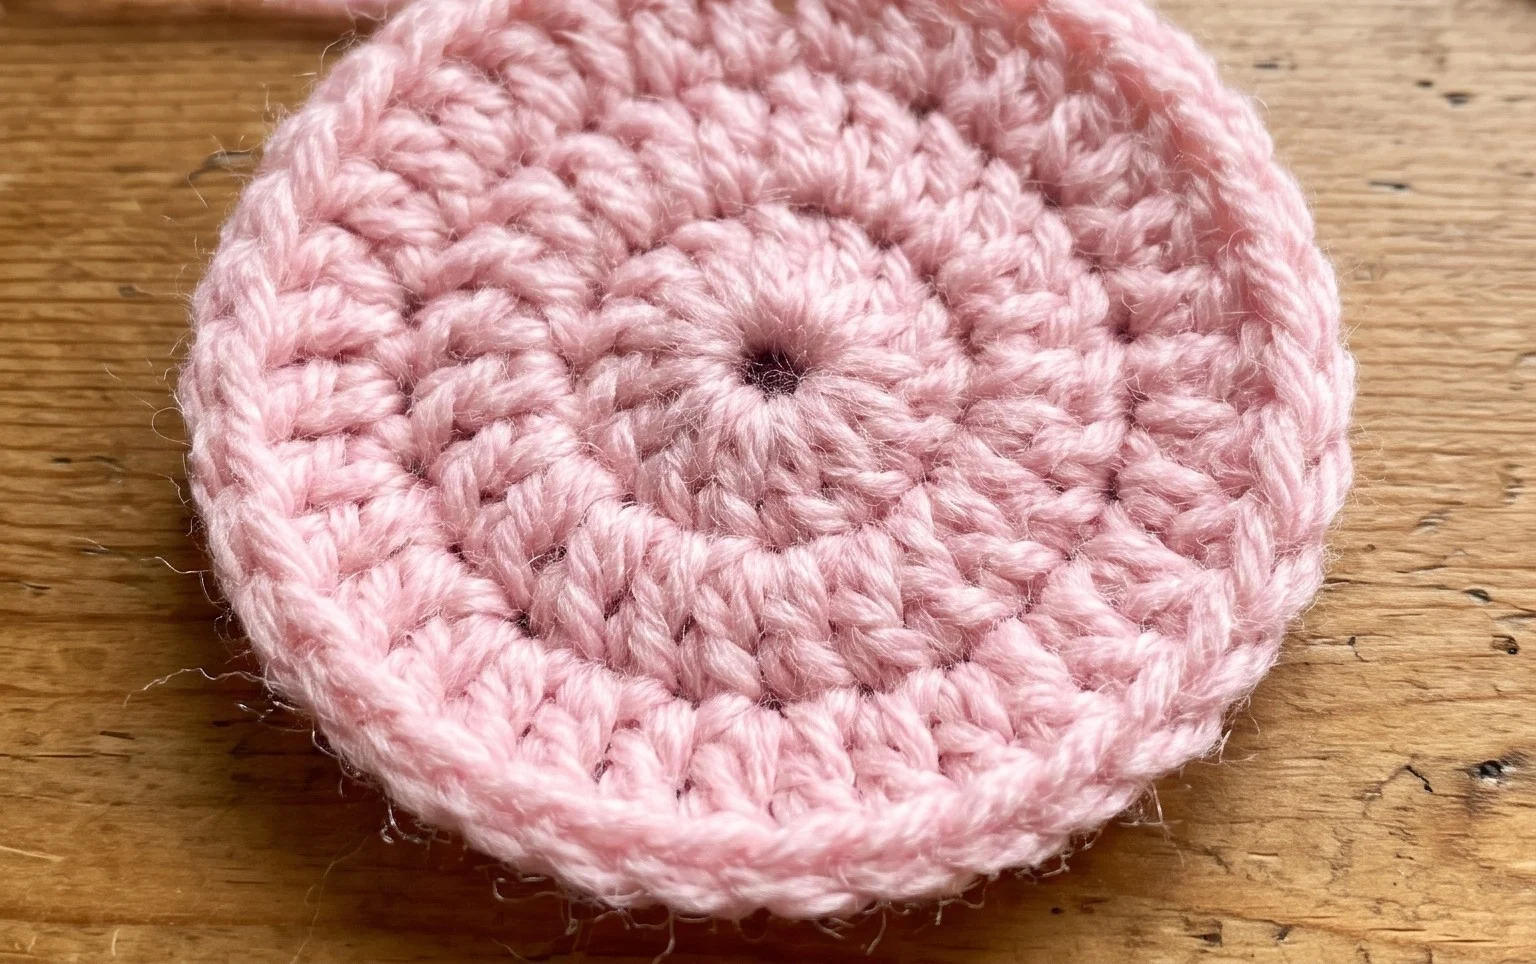
- Rnd 2: 2 sc in each st around. (12 sts)
- Rnd 3: [1 sc, inc] repeat 6 times. (18 sts)
- Rnd 4: [2 sc, inc] repeat 6 times. (24 sts)
- Rnd 5: [3 sc, inc] repeat 6 times. (30 sts)
- Rnd 6: [4 sc, inc] repeat 6 times. (36 sts)
- Rnd 7: [5 sc, inc] repeat 6 times. (42 sts)
- Rnd 8: [6 sc, inc] repeat 6 times. (48 sts)
- Rnd 9: [7 sc, inc] repeat 6 times. (54 sts)
- Rnd 10: [8 sc, inc] repeat 6 times. (60 sts)
Basket Sides
To transition to the sides, you will work in the back loop only for one round, then proceed to the thermal stitch.
- Rnd 11: Sc in the back loop only of every st around. (60 sts)
- Rnd 12: Work Thermal Sc in each st around. Insert hook into the back loop of the current st and the front loop of the stitch from two rounds below. (60 sts)
- Rnds 13-30: Repeat Rnd 12 until the basket reaches your desired height of 6 inches. (60 sts)
- Final Rnd: Sl st in each st around to create a clean, finished edge. Cut yarn, fasten off, and weave in all ends securely on the inside of the basket.
Care & Washing Instructions
- Machine wash the basket on a gentle cycle in cold water using a mild detergent.
- Reshape the basket while damp by pushing out the sides from the inside to ensure it dries in a perfect circle.
- Lay the basket flat on a clean towel in a well-ventilated area to air dry completely to prevent moisture buildup in the base.
Pro Tips & Common Mistakes to Avoid
- Maintain consistent tension throughout the thermal stitch rounds. If your hands tire, take short breaks to ensure your gauge remains even, as uneven tension will cause the basket to lean or wobble.
- Use a stitch marker at the beginning of every round. Because this is worked in a continuous spiral, it is easy to lose track of where the round ends without a marker.
- Weave your ends by splitting the plies of the cotton yarn with your needle. This keeps the tails tucked away inside the dense thermal fabric, making them invisible from the outside.
- Adjusting the size: You can increase the diameter by adding more increase rounds at the base, but remember that a larger base will require more yarn. Always ensure you have an extra skein on hand before scaling up.
Frequently Asked Questions
Can I substitute the cotton yarn for a different fiber?
You can use acrylic yarn, but the basket will be less rigid. Cotton is recommended because it provides the necessary weight and structure for a container.
How do I make the basket taller?
Simply continue repeating the thermal stitch rounds until you reach your desired height. Ensure you have enough additional yarn to accommodate the extra height.
Is this pattern suitable for a total beginner?
Yes, the pattern only requires basic single crochet stitches. The thermal stitch is explained in the instructions and requires only a small adjustment to where you insert your hook.
Can I sell the baskets I make from this pattern?
You are welcome to sell finished items made from this pattern, provided you credit the design. Please do not redistribute the pattern text itself.
Your finished basket brings a clean, modern touch to your desk or bookshelf, providing a heavy-duty home for pens and trinkets alike. You might try alternating colors every two rows to create a striped effect, or use a slightly thicker cord to increase the basket height for storing taller items like rolled hand towels. Please post a photo of your creation on social media to show how your color choices turned out. If you enjoyed this project, check out my other tutorials on the site for more ways to use your yarn stash for practical home goods.