Amphitrite Slouch Hat and Cowl: Free Beginner Pattern
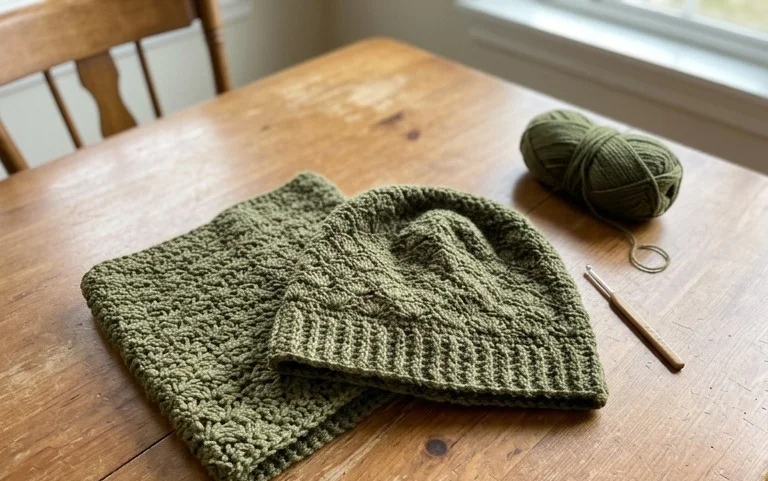
Soft wool against your skin makes the cold morning air feel manageable while you walk the dog or commute to work. The Amphitrite set offers a relaxed, slouchy silhouette that hangs perfectly and provides genuine warmth without the bulk of denser, more complicated textures. Beginners will find this project refreshing because it relies on the simplicity of the half double crochet stitch, allowing the yarn to shine through flat, consistent rows. You are going to build a functional winter wardrobe staple that feels handmade rather than mass-produced. We will cover the seamless construction technique and the finishing methods that ensure your garment lasts through many seasons of heavy use.
Why You’ll Love This Pattern
Creating a classic crochet beanie using the half double crochet stitch creates a dense, warm fabric that stands up well to winter wind. This project relies on a simple rectangular construction, meaning you do not need to worry about complex increasing or decreasing rounds. It is an ideal weekend project because the repetitive stitch rhythm is easy to memorize while watching television or listening to an audiobook. Because the pattern uses basic stitches, it is highly adjustable, allowing you to easily lengthen or shorten the beanie based on your personal preference for a slouchy or fitted style.
I finished this hat in one sitting using a single skein of wool. The instructions were easy to follow and the final fit was exactly what I wanted for my morning walks.
— Sarah, hobbyist maker
Pattern Overview & Skill Level
- Skill Level: Beginner
- Approximate Time: 3 to 4 hours
- Construction: Flat panel worked in rows, then seamed to form a tube and cinched at the top
- Finished Dimensions & Sizing: 9 inches tall by 20 inches circumference (fits average adult head)
Materials & Supplies Needed
- Yarn: Worsted weight (#4), 100% acrylic or wool blend, approximately 200 yards.
- Hook Size: 5.5 mm (US I-9).
- Notions: Yarn needle for seaming and weaving ends, locking stitch markers, and a tape measure.
- Safe yarn substitutions: You can use a cotton-acrylic blend for a softer feel, though cotton is heavier and may cause the hat to stretch out of shape more quickly than wool. If you choose a lighter weight yarn, you will need to add more foundation chains to maintain the 9-inch height.
Stitch Guide & Abbreviations (US Terms)
- ch = chain
- hdc = half double crochet: Yarn over, insert hook into stitch, yarn over and pull up a loop, yarn over and pull through all three loops on the hook.
- BLO = back loop only: Work the stitch into the back loop of the V-shape on top of the stitch rather than under both loops.
- st/sts = stitch/stitches
- sl st = slip stitch
- YO = yarn over
Step-by-Step Pattern Instructions
Main Body Panel
- Row 1: Ch 35. Hdc in the second ch from hook and in each ch across. Turn. (34 sts)
- Row 2: Ch 1, hdc in BLO of each st across. Turn. (34 sts)
- Rows 3-60: Repeat Row 2 until the piece measures approximately 20 inches long or fits comfortably around your head. Do not fasten off after the final row.
Assembly and Finishing
- Fold the rectangle in half so the short ends touch.
- Sl st through the BLO of the last row and the foundation chain row to join the edges together, creating a tube.
- Fasten off, leaving a 12-inch long tail of yarn.
- Thread the tail onto your yarn needle. Weave the yarn in and out of the edge stitches along the top of the tube.
- Pull the yarn tail tight to close the top of the hat securely, like a drawstring bag.
- Pass the needle through the center of the cinched hole several times to reinforce the closure, then knot on the inside of the hat.
- Weave in all remaining loose ends securely.
Care & Washing Instructions
- Hand wash the finished beanie in cool water using a mild wool-safe detergent to maintain the integrity of the fibers.
- Lay the hat flat on a dry towel and reshape it to its original dimensions, avoiding direct sunlight or heat sources during the drying process.
- Do not wring or twist the wet fabric, as this can distort the crochet stitches and stretch the material out of shape.
Pro Tips & Common Mistakes to Avoid
Maintaining consistent tension is the most important factor in ensuring the hat fits properly. If you find your edges are becoming uneven, place a stitch marker in the first stitch of every row to ensure you are catching the final stitch and not accidentally skipping it. If you want to increase the size of the hat, add more chains to your starting foundation; every 2 extra chains adds approximately 1 inch to the height of the beanie. Always weave your yarn tails in different directions through the stitches to ensure they do not pull out after the hat is stretched during wear.
Frequently Asked Questions
Can I use a different yarn weight for this pattern?
Yes, but you will need to adjust your foundation chain length and the number of rows to match the desired dimensions. A thicker yarn will require fewer rows and a larger hook, while a thinner yarn will require more rows.
Is this pattern suitable for complete beginners?
Yes, this is an excellent first project because it uses only one basic stitch and does not involve counting increases or decreases. You only need to track the number of rows to ensure the hat is wide enough.
How do I adjust the fit for a smaller head?
Simply work fewer rows for the main body panel. Stop when the rectangle measures approximately 1 to 2 inches smaller than the head circumference, as the crochet fabric has natural stretch.
Am I allowed to sell hats made from this pattern?
You are welcome to sell finished items created from this pattern provided you credit the designer. Please use your own photographs rather than copying images from this guide.
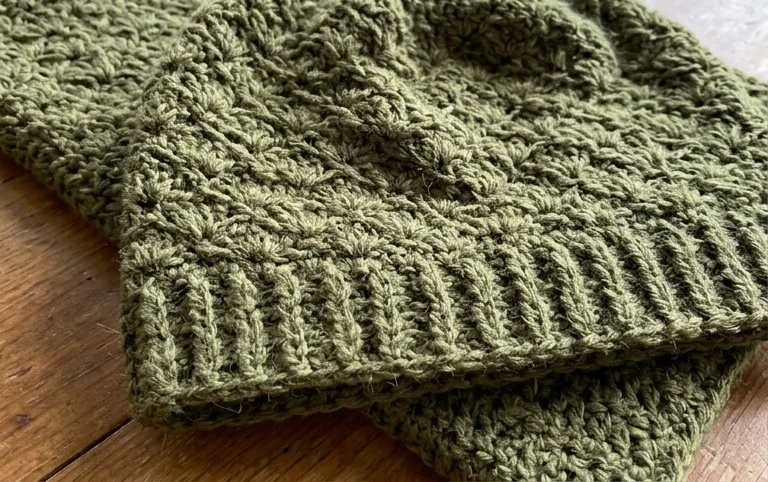
You now have a matching winter set that looks refined and feels cozy during chilly weather. If you want to change the visual interest of the project, try using a variegated yarn to add subtle color shifts or hold two strands of thinner yarn together for a thicker, chunkier texture. Please share a photo of your finished work on your favorite social media site to show off your progress. Come back soon to browse our collection of other simple projects and learn more basic techniques for your next handmade accessory.