19 Easy Winter Hat Crochet Patterns for Beginners
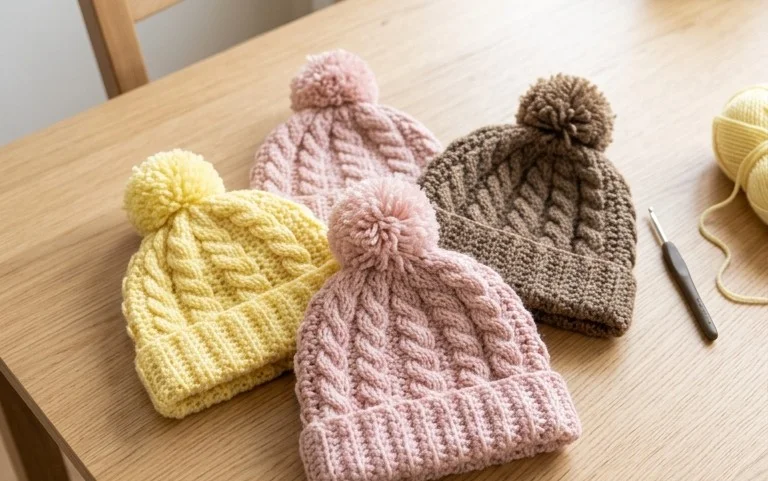
A warm wool beanie provides the simplest comfort during a biting wind, especially when the stitches feel soft against your forehead and ears. These projects allow you to build confidence through repetitive motion, making them approachable for anyone who just bought their first hook. You will work with common yarn weights that hold their shape well throughout the cold season, ensuring every gift stays durable. By focusing on basic loops and tension control, you learn how to create professional garments without needing complicated charts. These winter hat crochet patterns turn a single ball of fiber into a reliable, functional accessory.
Why You’ll Love This Pattern
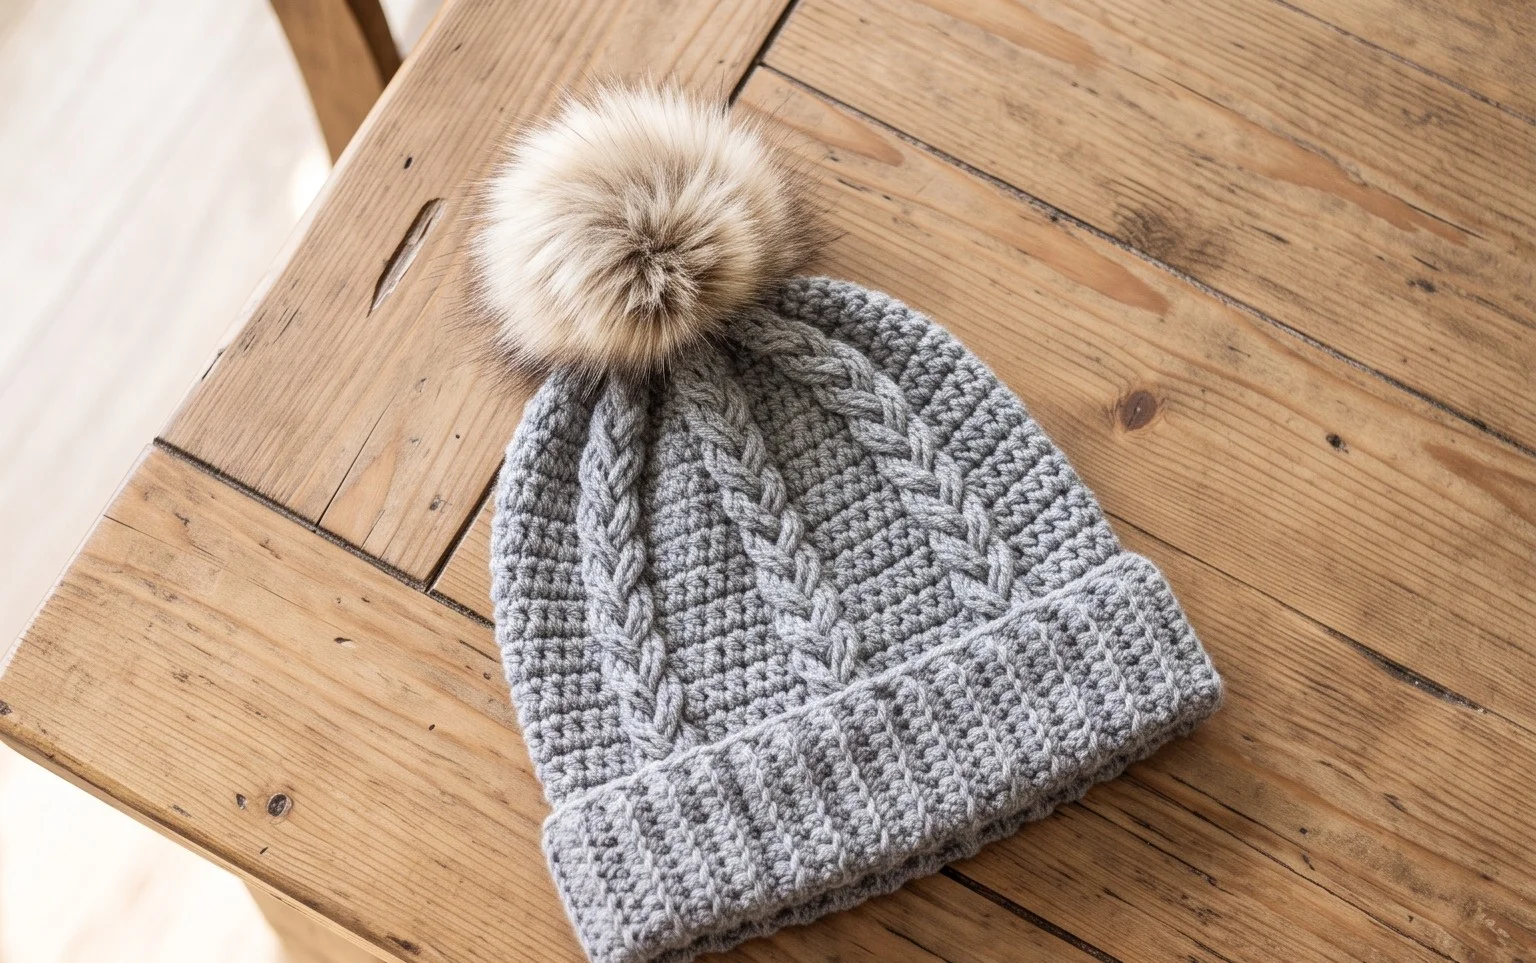
The Classic Crochet Beanie serves as a fundamental project for any fiber artist because it relies on simple half double crochet stitches worked in the round. This design works up quickly in an evening, making it an ideal choice for last-minute gifts or stocking a craft fair inventory. Because it uses a medium-weight yarn, the fabric remains dense enough to provide warmth while retaining enough drape to fit comfortably against the head. You will appreciate how the textured ribbing provides a professional, polished edge that keeps the hat from sliding during wear.
I finished this hat in just a few hours on a Saturday afternoon, and the instructions were incredibly easy to follow without needing to constantly re-read the chart.
— Sarah, hobbyist crafter
Pattern Overview & Skill Level
- Skill Level: Beginner
- Approximate Time: 3 to 4 hours
- Construction: Worked in joined rounds from the crown down to the brim, finished with a simple slip stitch ribbing.
- Finished Dimensions & Sizing: Adult Medium; 20 inches circumference, 8.5 inches height.
Materials & Supplies Needed
- Yarn: Worsted weight (#4), wool or acrylic blend, approximately 200 yards.
- Hook Size: 5.0 mm (H-8) crochet hook.
- Notions: Tapestry needle for weaving ends, stitch marker to denote round starts, and a measuring tape.
- Safe yarn substitutions: You may substitute with a light-weight bulky (#5) yarn, but be aware that you will need to decrease the total stitch count by approximately 10% to maintain the same finished circumference.
Stitch Guide & Abbreviations (US Terms)
- ch: chain
- st/sts: stitch/stitches
- sl st: slip stitch
- hdc: half double crochet
- hdc2tog: half double crochet two stitches together (decrease)
- BLO: back loop only
- yo: yarn over
Step-by-Step Pattern Instructions
Hat Body
- Rnd 1: Start with a magic ring. Ch 1, work 10 hdc into the ring. Join with a sl st to the first hdc. (10 sts)
- Rnd 2: Ch 1, 2 hdc in each st around. Join with a sl st to the first hdc. (20 sts)
- Rnd 3: Ch 1, (1 hdc in first st, 2 hdc in next st) repeat around. Join with a sl st. (30 sts)
- Rnd 4: Ch 1, (1 hdc in next 2 sts, 2 hdc in next st) repeat around. Join with a sl st. (40 sts)
- Rnd 5: Ch 1, (1 hdc in next 3 sts, 2 hdc in next st) repeat around. Join with a sl st. (50 sts)
- Rnd 6: Ch 1, (1 hdc in next 4 sts, 2 hdc in next st) repeat around. Join with a sl st. (60 sts)
- Rnds 7-20: Ch 1, 1 hdc in each st around. Join with a sl st to the first hdc. (60 sts)
Brim
- Rnd 21: Ch 8. Starting in the second ch from the hook, 1 sl st in each of the 7 chs. Sl st into the next 2 sts of the hat body.
- Rnd 22: Turn your work. Working in BLO, 1 sl st in each of the 7 ribbing sts. Ch 1, turn.
- Rnd 23: Working in BLO, 1 sl st in each of the 7 ribbing sts. Sl st into the next 2 sts of the hat body. Repeat from Rnd 22 around the entire base of the hat.
- Finishing: Fasten off, leaving a 6-inch tail. Use the tapestry needle to seam the last row of the ribbing to the first row to close the loop.
Care & Washing Instructions
- Hand wash in cool water using a mild wool-safe detergent to preserve the elasticity of the yarn.
- Lay the hat flat on a dry towel and reshape it while damp to ensure the crown remains round.
- Avoid wringing or twisting the fabric as this will permanently stretch the stitch definition and alter the sizing.
Pro Tips & Common Mistakes to Avoid
Maintain consistent tension by holding your yarn with a steady grip, especially during the increase rounds where it is easy to accidentally pull loops too tight. Always place a stitch marker in the first stitch of every round to avoid losing your count during the plain hdc rounds. To weave in ends invisibly, work your needle through the back of the stitches in the interior of the hat rather than piercing through to the front side. If you want a larger or smaller hat, increase or decrease the number of stitches in your final increase round (Rnd 6), noting that every change of 10 stitches adds or subtracts roughly 3 inches of total circumference.
Frequently Asked Questions
Can I use cotton yarn for this project?
Yes, cotton yarn works well, but it lacks the natural stretch of wool or acrylic. You may need to add one extra increase round to ensure the hat fits comfortably.
Is this pattern suitable for complete beginners?
The pattern uses basic stitches and clear, repetitive rounds, making it a great second or third project for anyone who has mastered the foundation chain and single crochet.
How do I adjust the height of the hat?
To make the hat longer or shorter, simply add or subtract the number of rows worked in the plain section (Rnds 7-20) before beginning the brim.
Am I allowed to sell hats made from this pattern?
You are welcome to sell finished items created from this pattern, provided you credit the designer and use your own photographs for the listings.
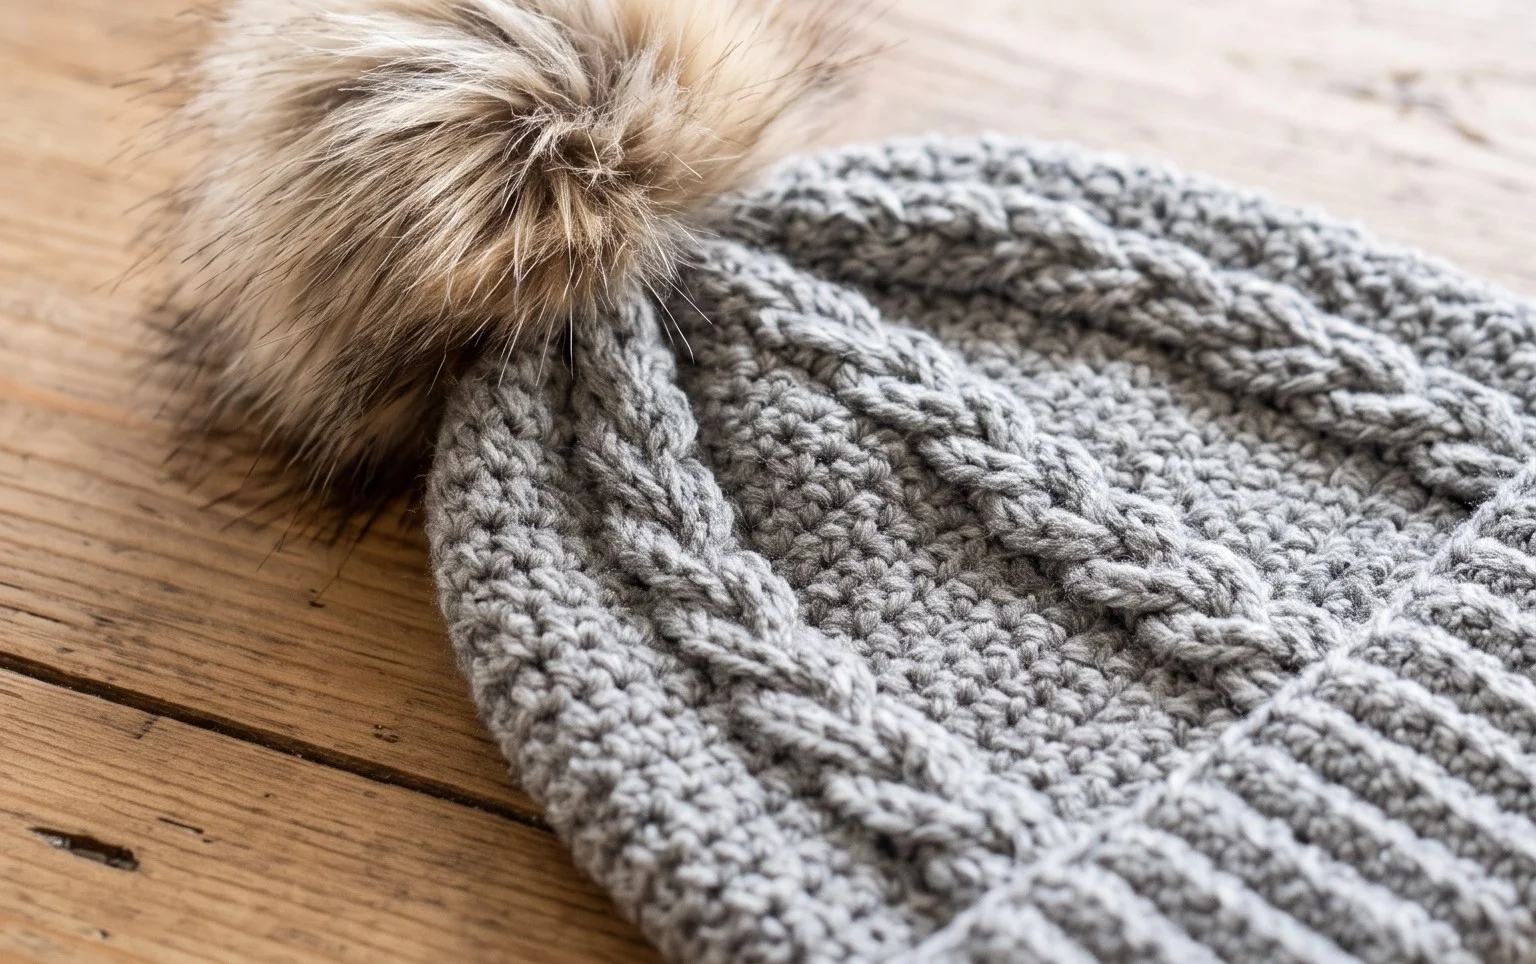
Your finished hat feels soft and sturdy, keeping you warm during every chilly morning walk. You might try swapping the wool blend for a variegated cotton yarn if you want a lighter texture for early spring days or a brighter pop of color. Take a quick photo of your work and share it on your favorite social media account to show off your progress. Please check back on the blog next week to find more patterns and helpful tutorials to keep your hooks moving through the winter months.