Easy Done In A Day Crochet Blanket Free Pattern Tutorial
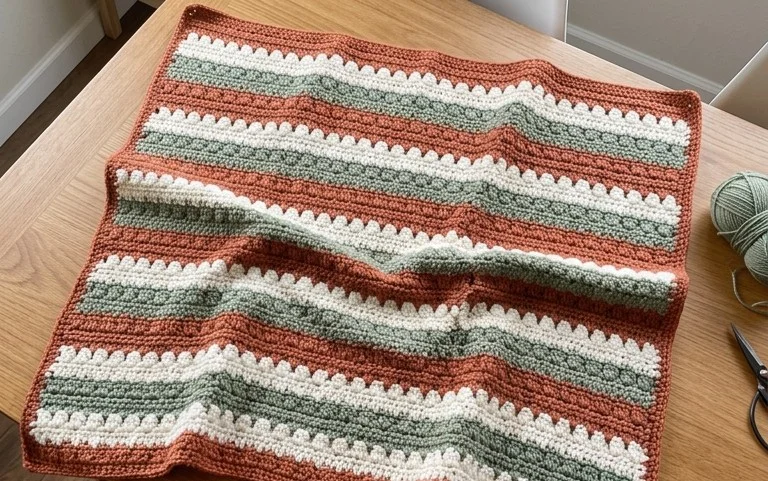
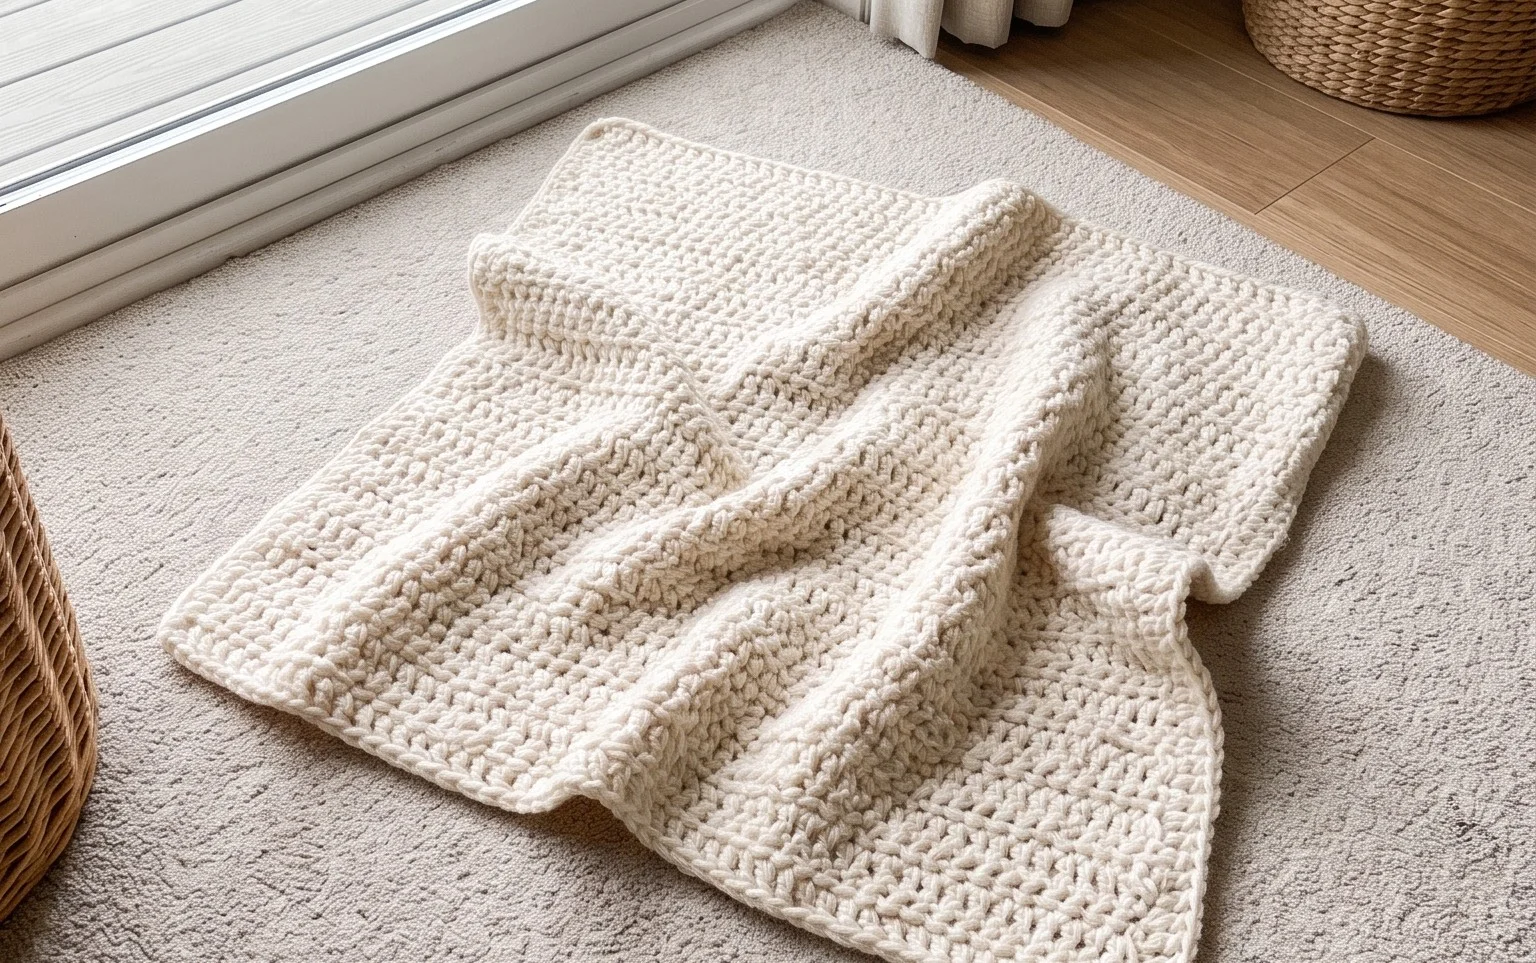
This blanket feels like a warm embrace on a chilly afternoon, offering a soft texture that invites you to curl up on the sofa. Beginners will find the process rewarding because it breaks down the intimidation of larger projects into manageable, repetitive squares that build momentum. You get to see the color layout come together quickly as you work through each round, which keeps your interest high from start to finish. We focus on the classic granny square technique here, ensuring your tension stays consistent while you master the rhythm of the double crochet clusters that form the core of this cozy design.
Why You’ll Love This Pattern
The Classic Crochet Granny Square is the quintessential building block of crochet design. This specific version uses a traditional three-double-crochet cluster technique that balances structure with drape. It works up quickly, making it an ideal choice for testing new color combinations or using up small lengths of leftover yarn from previous projects. You can easily join these squares to create blankets, tote bags, or even garments by adjusting your final count. The rhythmic nature of the stitches makes it a relaxing project for travel or watching television.
I finally learned how to make these squares after years of avoiding them. The instructions were so clear that I managed to make ten of them in a single weekend without any tension issues.
— Sarah, casual crafter
Pattern Overview & Skill Level
- Skill Level: Beginner
- Approximate Time: 30 minutes per square
- Construction: Continuous rounds worked from the center outward
- Finished Dimensions: Approximately 5 inches square using worsted weight yarn
Materials & Supplies Needed
- Yarn: Worsted weight (#4) acrylic or wool blend, approximately 20 yards per square.
- Hook Size: 5.0 mm (US H-8) crochet hook.
- Notions: Tapestry needle for weaving in ends, scissors, and a measuring tape.
- Safe yarn substitutions: You can use DK weight yarn for a smaller square or bulky yarn for a larger square. Note that changing yarn weight will significantly alter the final dimensions and may require a different hook size to maintain a consistent fabric density.
Stitch Guide & Abbreviations (US Terms)
- ch = chain
- st/sts = stitch/stitches
- sl st = slip stitch
- dc = double crochet: Yarn over, insert hook into stitch, yarn over, pull up a loop, yarn over, pull through two loops, yarn over, pull through remaining two loops.
- Cluster = 3 dc worked into the same space or stitch.
- Magic Ring = A method of starting rounds by working stitches into an adjustable loop.
Step-by-Step Pattern Instructions
Granny Square Base
- Rnd 1: Start with a magic ring. Ch 3 (counts as first dc throughout). Work 2 dc into the ring. Ch 2, 3 dc into the ring. Ch 2, 3 dc into the ring. Ch 2, 3 dc into the ring. Ch 2, join with a sl st to the top of the initial ch 3. Pull the ring tight. (12 sts, 4 ch-2 spaces)
- Rnd 2: Sl st into the next two sts and into the first ch-2 corner space. Ch 3, (2 dc, ch 2, 3 dc) in the same corner space. Ch 1, skip 3 dc, (3 dc, ch 2, 3 dc) in the next ch-2 corner space. Repeat from * to * two more times. Ch 1, join with a sl st to the top of the initial ch 3. (24 sts, 4 ch-2 spaces, 4 ch-1 spaces)
- Rnd 3: Sl st into the next two sts and into the first ch-2 corner space. Ch 3, (2 dc, ch 2, 3 dc) in the same corner space. Ch 1, 3 dc in the next ch-1 space. Ch 1, (3 dc, ch 2, 3 dc) in the next ch-2 corner space. Repeat from * to * two more times. Ch 1, 3 dc in the final ch-1 space. Ch 1, join with a sl st to the top of the initial ch 3. (36 sts)
Finishing
After completing Round 3, fasten off your yarn, leaving a 6-inch tail. Use a tapestry needle to weave the yarn tail through the back of the stitches to secure it. If you plan to join multiple squares, leaving a longer tail can be helpful for seaming later.
Care & Washing Instructions
- Machine wash in cold water on a gentle cycle using a mild detergent.
- Lay the square flat on a clean towel to air dry, reshaping it with your hands while damp to ensure square corners.
- Do not wring or twist the item, as this can distort the stitches and cause the yarn fibers to stretch permanently.
Pro Tips & Common Mistakes to Avoid
Maintain consistent tension by ensuring your yarn feed remains smooth throughout the process. If your square starts to cup, your tension might be too tight; if it ruffles, try a smaller hook size. Always place a stitch marker in the first chain of your starting chain three to make it easier to find when joining rounds. To make seams invisible when joining, use the mattress stitch rather than a slip stitch join.
Frequently Asked Questions
Can I make this square larger?
Yes, you can continue to add rounds by working (3 dc, ch 2, 3 dc) into every corner space and 3 dc into every side ch-1 space, separated by one chain stitch between groups.
Is this project suitable for absolute beginners?
This is a foundational pattern that teaches how to work in rounds, manage corner increases, and maintain a consistent stitch count, making it excellent for someone who has just learned to chain and double crochet.
What is the best way to change colors?
For the cleanest look, join your new color at the start of a round in a corner space. Pull the new color through the existing loop, chain three, and continue the pattern as normal.
Can I sell items made from this pattern?
Please check the specific terms provided by the pattern source or original designer. Generally, individual makers can sell finished items, but you should not redistribute or sell the written pattern itself.
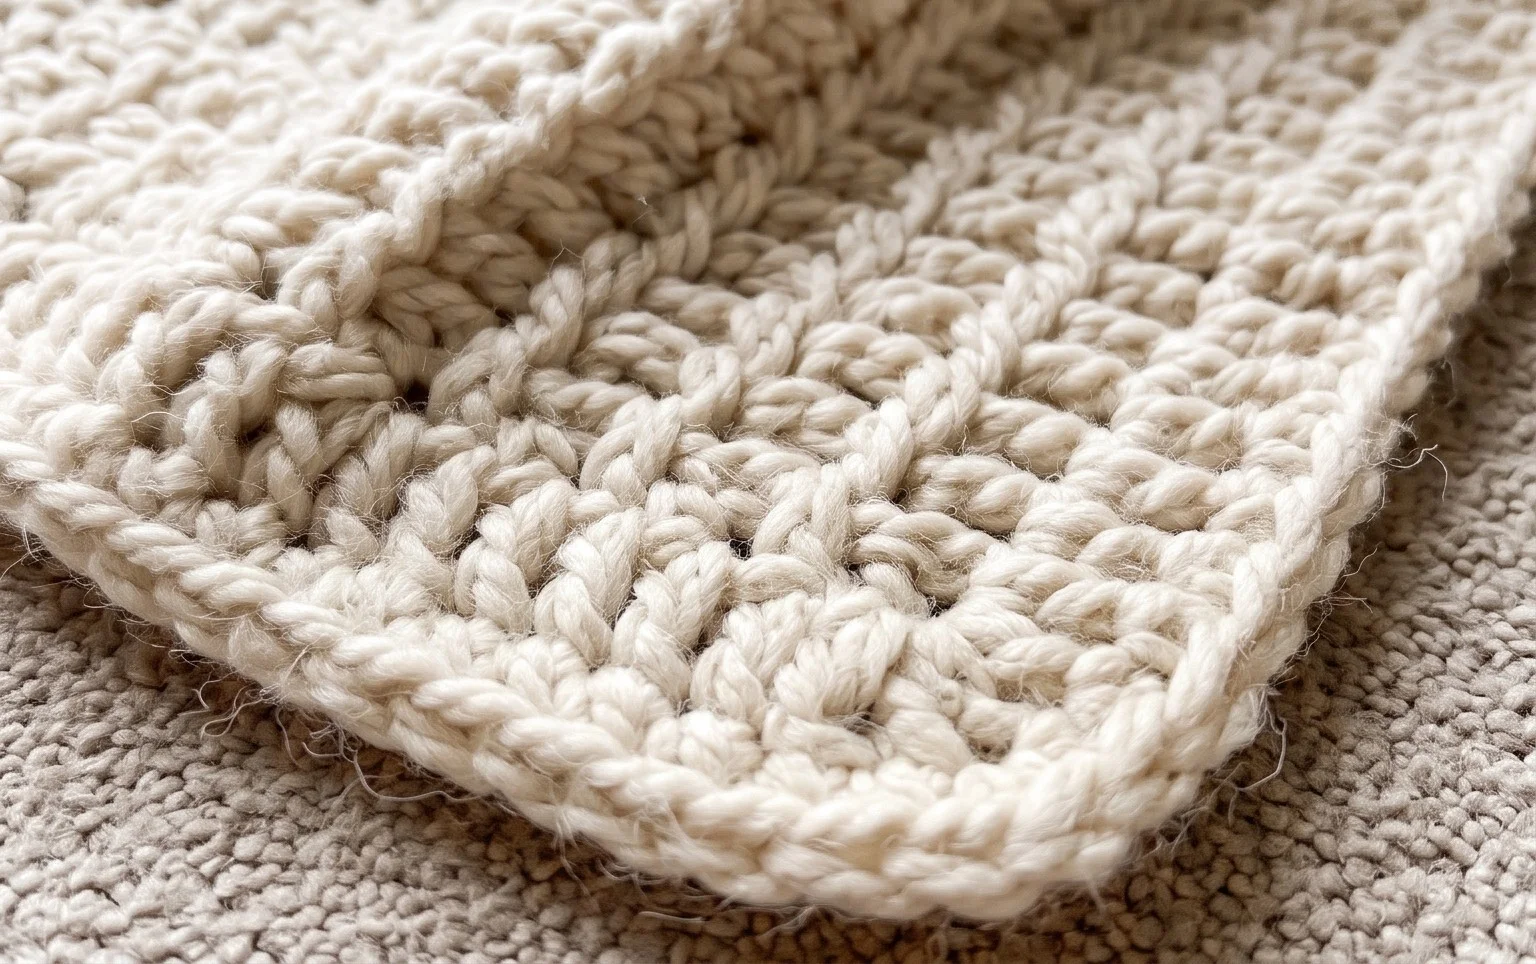
Finishing these squares brings a deep sense of accomplishment as you watch your yarn stash transform into a cozy, functional household staple. You could experiment with a monochrome palette to create a modern, minimalist look or swap the worsted wool for a soft cotton blend if you prefer a lighter summer throw. Posting a photo of your finished work on social media helps other makers find inspiration for their own color choices. Please visit our main library of free patterns to discover your next creative project after you finish this quick project.