Easy Christmas Crochet Patterns: 5 Free Holiday Designs
Handmade ornaments and cozy accessories bring a warmth to your home that store-bought items simply cannot replicate during the holiday season. Working with soft wool or shimmering metallic yarn creates a tactile experience that turns quiet evenings into productive sessions for gift giving or personal decor. Whether you are a beginner picking up a hook for the first time or a seasoned maker, these projects rely on fundamental stitches like the single crochet and chain space to build complex shapes. You will learn how to maintain consistent gauge while navigating holiday-themed color palettes that add charm to any tree or mantlepiece.
Why You’ll Love This Pattern
This crochet ribbed beanie pattern utilizes a simple back-loop-only technique that creates a professional, store-bought look with minimal effort. It works up quickly using half double crochet stitches, providing a dense, warm fabric perfect for winter weather. Because the hat is constructed as a flat rectangle before being seamed, it is an ideal project for beginners learning to control tension and maintain consistent stitch counts across rows. You can easily adjust the height by adding or subtracting starting chains, making it a versatile staple for any wardrobe.
I finished this hat in one evening while watching a movie. The instructions were very clear and the ribbing looks exactly like a knit garment.
— Sarah, hobbyist crocheter
Pattern Overview & Skill Level
- Skill Level: Beginner
- Approximate Time: 3 to 4 hours
- Construction: Worked flat as a rectangular panel, then seamed along the short edge to form a tube, with the crown gathered and closed.
- Finished Dimensions & Sizing: Fits average adult head (20-22 inches circumference). Height is adjustable.
Materials & Supplies Needed
- Yarn: Worsted weight (#4), approximately 200 yards. Wool or acrylic-wool blends provide the best elasticity for a snug fit.
- Hook Size: 5.0 mm (US H-8).
- Notions: Yarn needle for seaming and weaving ends, locking stitch markers to track row ends, scissors.
- Safe yarn substitutions: Cotton yarn can be used but lacks the natural stretch of wool; if using cotton, consider sizing down your hook or adding extra stitches to the foundation chain to ensure the hat fits comfortably.
Stitch Guide & Abbreviations (US Terms)
- ch = chain
- hdc = half double crochet
- st/sts = stitch/stitches
- BLO = back loop only (insert hook under the back loop of the stitch only, leaving the front loop visible to create a ribbed effect)
- sl st = slip stitch
- FO = fasten off
Step-by-Step Pattern Instructions
Main Body Panel
- Row 1: Ch 40 (or your desired height for the hat). Hdc in 3rd ch from hook and in each ch across. Turn. (38 sts)
- Row 2: Ch 2 (does not count as st here or throughout). Hdc in BLO of each st across. Turn. (38 sts)
- Rows 3-60: Repeat Row 2 until the piece measures approximately 20 inches wide when slightly stretched. Do not fasten off after the final row.
Assembly and Finishing
- Seaming: Fold the rectangle in half so the short ends meet. Slip stitch through the back loop of the final row and the foundation chain across the edge to join the hat into a tube.
- Closing the Crown: Leave a long tail of about 10 inches before cutting the yarn. Using your tapestry needle, weave the tail in and out of the ends of every other row along the top edge of the tube. Pull the yarn tail tight to cinch the top of the hat closed. Secure with a knot on the inside.
- Final Step: Weave in all remaining yarn ends securely on the inside of the hat. Turn the hat right-side out.
Care & Washing Instructions
- Hand wash your hat in cool water using a mild wool-safe detergent.
- Avoid wringing the fabric; instead, roll the hat in a clean towel to absorb excess moisture.
- Lay the item flat on a towel to air dry, reshaping it while damp to ensure the ribbing remains consistent.
Pro Tips & Common Mistakes to Avoid
Maintain consistent tension throughout the project to keep the edges straight; if your tension is too loose, the ribbing will lose its definition. Place a stitch marker in the first and last stitch of every row to ensure you do not accidentally drop stitches, which causes the rectangular panel to slant. When weaving in your ends, run the needle through the stitches at least three times in different directions to ensure the seams do not pull apart with regular wear. If you decide to adjust the size, remember that changing the starting chain count will alter the height, while adding more rows will increase the circumference.
Frequently Asked Questions
Can I make this hat larger for a slouchy fit?
Yes, you can increase the starting chain count by 5 to 10 stitches to gain more height. You can also work additional rows until the circumference reaches your desired measurement.
Is this pattern suitable for complete beginners?
This pattern is perfect for beginners because it uses only one type of stitch and requires no complex shaping or increases.
Can I sell the hats I make from this pattern?
You may sell finished items, but please credit the pattern source appropriately. Check the specific designer terms if you are using this for mass-production or small business purposes.
How do I know if my yarn substitution will work?
Always check the yarn label for the recommended hook size. If your substitute yarn is thicker than the original, you may need a larger hook to prevent the fabric from becoming too stiff or heavy.
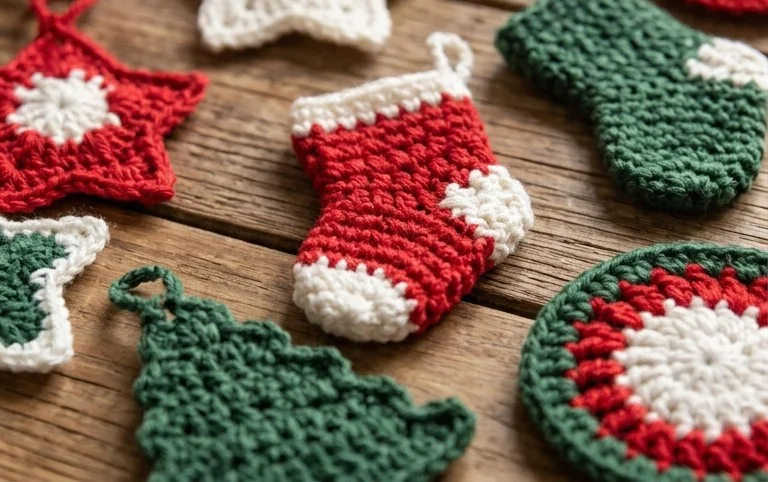
A finished crochet piece represents hours of care, resulting in a thoughtful gift that carries the specific comfort of your own hands. You might try working this pattern in deep forest green or bright peppermint stripes to match your existing holiday theme for a unique seasonal look. Once your work is complete, upload a photo to social media or Pinterest so others can appreciate your color choices. Explore the rest of the blog for more free patterns to fill your gift list this winter.